Published on:
11 min read
Installing a Removable Backsplash in a Rental Kitchen: Avoiding Common Pitfalls
Renters often crave a kitchen upgrade but fear losing their deposit or damaging the walls. A removable rental kitchen backsplash promises style and practicality, but the process is riddled with pitfalls. From adhesive mishaps to moisture traps and uneven surfaces, this troubleshooting guide explores how to sidestep disappointment and create an upgrade that’s both attractive and truly removable. Learn how to select the right materials, prep your space, and avoid the most common failure modes—so your kitchen refresh is as stress-free as it is stylish.
- •The Renter’s Dilemma: Style Without Sacrifice
- •Choosing Materials: Not All 'Removable' is Created Equal
- •Adhesive Nightmares: Why Your Backsplash Won’t Stick (or Won’t Come Off)
- •Moisture Traps: Hidden Mold and Peeling Corners
- •Surface Prep: The Foundation of a Successful Install
- •Safe Installation: Don’t Trade Style for Safety
- •Finishing Touches: Seams, Edges, and Removal Anxiety
- •When to Rethink or Call a Pro
- •Conclusion: Rental-Friendly Style That Lasts
- •References
The Renter’s Dilemma: Style Without Sacrifice
Rental kitchens often come with bland, outdated walls that beg for a facelift. But when your lease restricts permanent changes, installing a removable rental kitchen backsplash seems like the perfect compromise. The catch? Not all peel-and-stick solutions live up to their promises, and some DIY attempts can leave you with peeling corners, sticky residue, or even wall damage that risks your security deposit. Before you leap into a weekend project, it’s worth examining the most common trouble spots—and how to get around them. Many renters are driven by the desire to personalize their space, but the anxiety of making a costly mistake or running afoul of lease agreements is real. The good news is, with careful planning and a clear-eyed look at the possible failure modes, you can enjoy a kitchen upgrade that’s both stylish and safe for your wallet.
Choosing Materials: Not All 'Removable' is Created Equal
The market is flooded with options: vinyl decals, peel-and-stick tiles, plastic panels, and even faux metal sheets. Each has its strengths and weak points. Vinyl decals are lightweight and easy to remove but can wrinkle or tear; thicker faux tiles look more realistic but may not flex to uneven surfaces. The adhesive type is critical: some stick too well and damage paint or drywall, while others won’t last through a steamy dishwashing session. For renters, prioritize products labeled as 'removable' and check for third-party certifications, like the EPA Safer Choice label, which signals safer materials for your home environment (U.S. EPA, Safer Choice — https://www.epa.gov/saferchoice).
A common failure mode is assuming that any product labeled 'peel-and-stick' is renter-safe. In reality, some adhesives are designed for permanent installations and can bond aggressively to painted surfaces, especially if left up for months or years. Others may be so weak that they start peeling within days, especially in high-humidity areas. Always read the fine print on packaging and seek out reviews from other renters. If you’re concerned about chemical exposure, especially in food prep areas, the EPA Safer Choice database is a valuable resource for identifying products with safer ingredients and lower volatile organic compound (VOC) emissions.
Adhesive Nightmares: Why Your Backsplash Won’t Stick (or Won’t Come Off)
Failure mode one: the backsplash falls off within days. This usually happens when surfaces are greasy, dusty, or textured. Kitchens accumulate invisible films from cooking, so even if walls look clean, wipe them down with a mild, residue-free cleaner before installation. On the flip side, some adhesives are too aggressive, pulling off paint or leaving behind a gummy mess when you move out. Test a small patch in an inconspicuous area first, and avoid products with warnings about permanent adhesion. If you’re sensitive to chemical cleaners or adhesives, consult the EPA Safer Choice database for gentler options (U.S. EPA, Safer Choice — https://www.epa.gov/saferchoice).
Another overlooked pitfall: temperature and humidity during installation. Adhesives can behave unpredictably if applied in a cold or humid kitchen. If the product instructions specify a temperature range, follow it closely. Some renters have found that applying tiles on a rainy day or in a steamy kitchen leads to poor adhesion and early failure. If you’re installing near a stove or kettle, wait until the area is cool and dry. Keep in mind that some adhesives may off-gas during installation, which can be irritating to sensitive individuals. Proper ventilation is important, especially in small kitchens.
Moisture Traps: Hidden Mold and Peeling Corners
Kitchens are humid by nature. If your removable backsplash isn’t sealed properly or is installed near sinks and stoves, moisture can seep behind panels, leading to curling corners or, worse, hidden mold. This is particularly problematic with thick, rigid tiles and panels that aren’t flexible enough to press flush against the wall. Always dry the wall thoroughly before installation, and avoid placing peel-and-stick panels directly behind sinks or cooktops if you can’t ensure a tight seal. If you notice persistent moisture or musty odors, remove the backsplash immediately—mold growth is a health hazard and can cause permanent wall damage.
Another failure mode: water from splashes or steam seeps into the seams or edges, causing the adhesive to break down. This can result in warping, discoloration, or even tiles falling off unexpectedly. To minimize this risk, look for products that offer edge-sealing strips or use a removable waterproof caulk at the top and bottom edges. Be cautious with caulks and tapes—verify they’re labeled as removable and safe for painted surfaces. If you see any signs of black spots or mildew behind the panels, address the source of moisture before reinstalling anything. Mold can be stubborn and may require professional remediation if it spreads.
Surface Prep: The Foundation of a Successful Install
Another frequent failure: the backsplash looks crooked or develops bubbles and wrinkles. Uneven or textured walls are common in rentals and can sabotage even the best products. Use a level to mark your starting line, and start from the center out to avoid misalignment. For stubborn bumps or holes, consider using removable spackling compound first. If your wall is heavily textured, ultra-thin decals may not adhere well—opt for thicker, more forgiving materials. For more on prepping rental surfaces for temporary projects, see /posts/rental-friendly-accent-wall-painting.
A less obvious pitfall is neglecting to let the wall dry completely after cleaning or patching. Even a slightly damp surface can prevent adhesives from bonding properly, leading to early failure. If you’re in a hurry, use a fan or open a window to speed up drying. Take the time to measure twice and cut once, especially around outlets and corners. Rushed prep work often leads to visible seams, misaligned patterns, or wasted materials. If your rental has glossy or semi-gloss paint, lightly scuffing the area with a non-abrasive pad can help adhesives grip better—just be sure to test a small spot first to avoid visible marks.
Safe Installation: Don’t Trade Style for Safety
DIY backsplash projects seem low-risk, but reaching high spots or awkward corners often means climbing on chairs or counters—a leading cause of home injuries. Always use a sturdy step stool or ladder, and never overreach. The CDC notes that falls are a leading cause of non-fatal injuries at home, especially during DIY tasks (CDC NIOSH, Falls — https://www.cdc.gov/niosh/topics/falls/). If your project requires electrical outlet removal or work near wiring, call a professional. No backsplash is worth an electric shock or a trip to the ER.
Another overlooked safety failure: using sharp blades or scissors to trim panels without a proper cutting surface. Always cut on a stable surface, away from the edge of the counter, and keep fingers clear of the blade path. If you’re working with metal or glass-look panels, wear gloves to avoid cuts. Keep tools and packaging out of reach of children and pets during the project. Never leave adhesives or cleaning products open and unattended, as accidental ingestion or contact can be hazardous. For more on household chemical safety, the EPA Safer Choice program offers guidance on safer product selection.
Finishing Touches: Seams, Edges, and Removal Anxiety
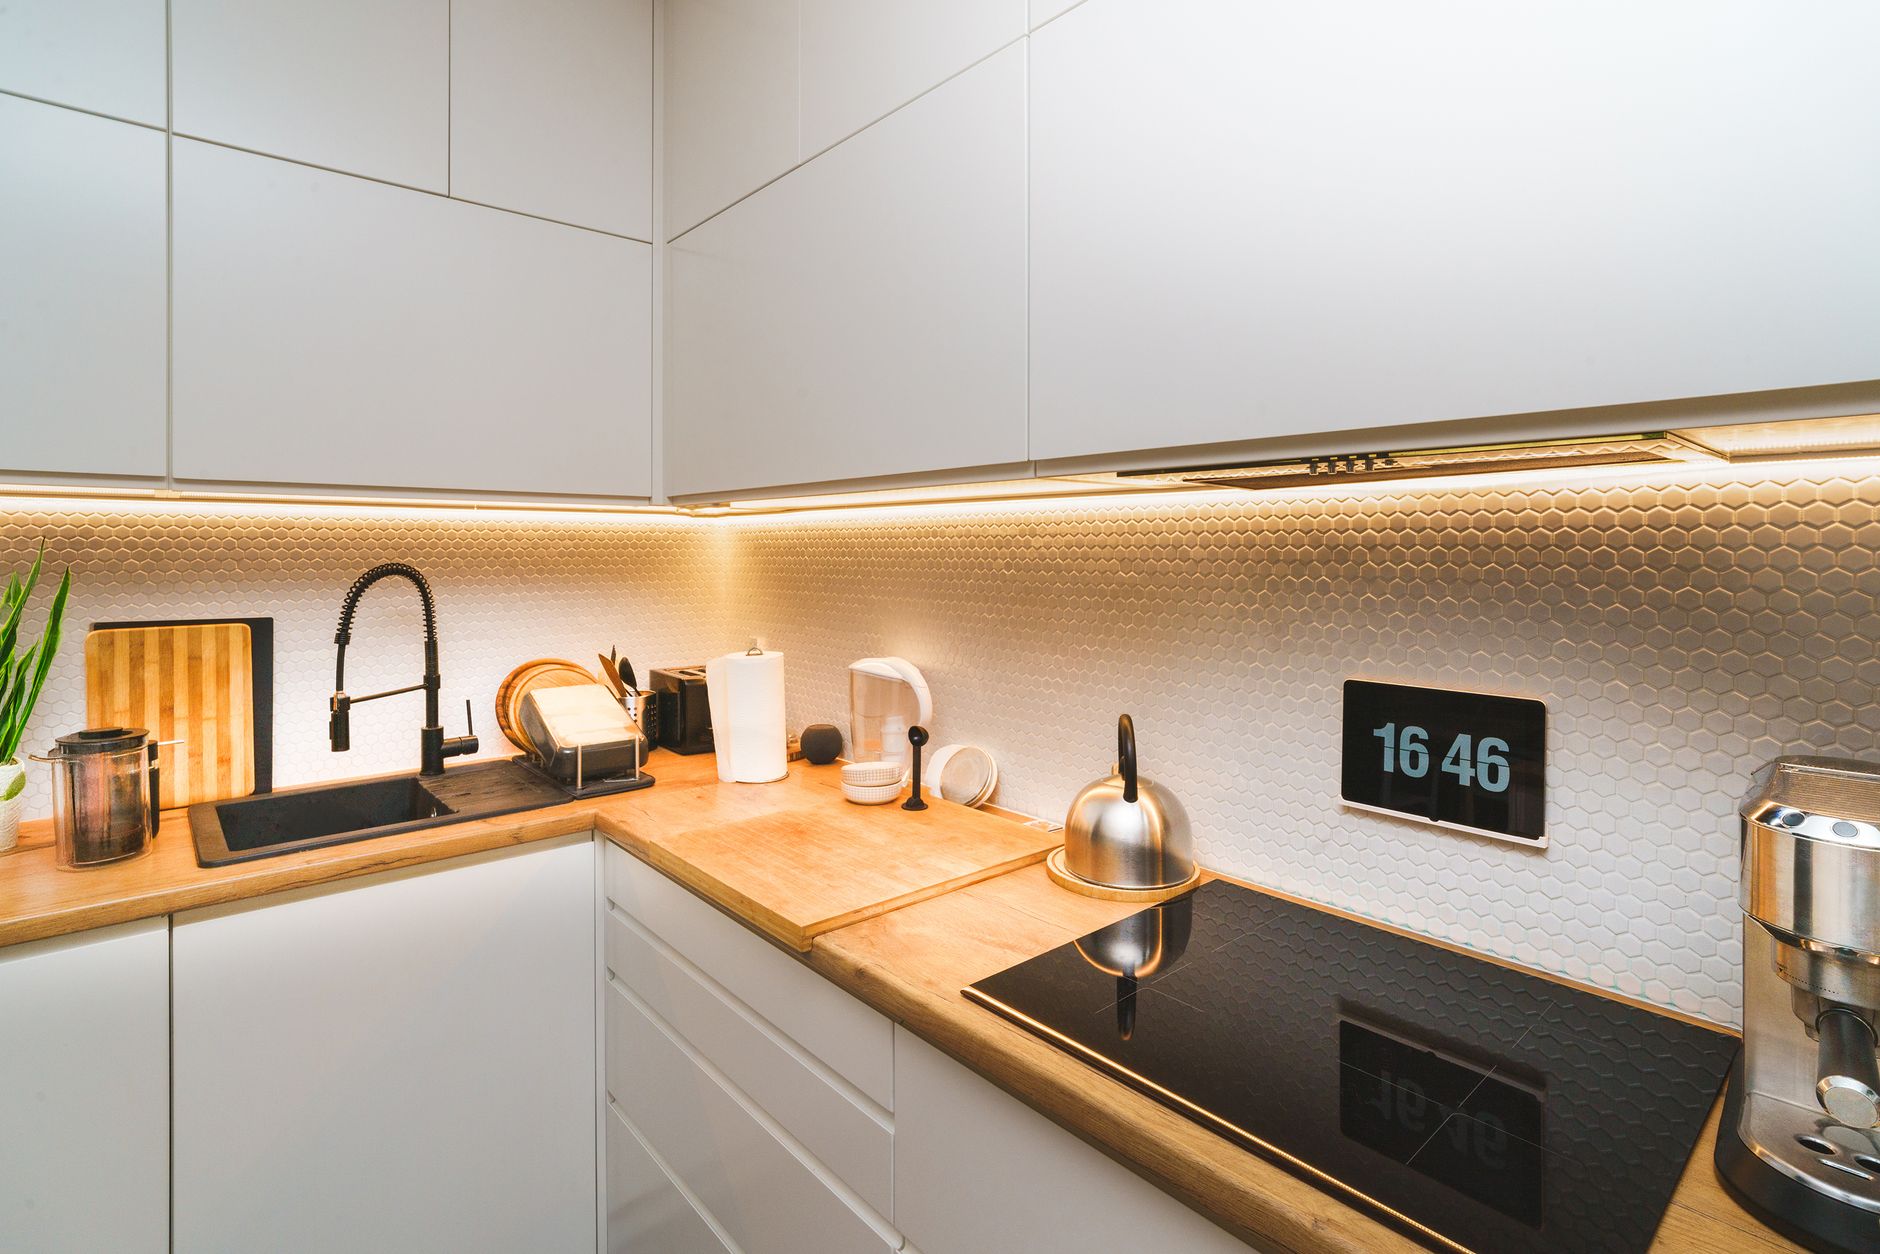
Once your backsplash is in place, inspect all seams and edges. Gaps can let in moisture or grease, leading to peeling or staining. For a cleaner look, some renters use removable caulk or silicone tape at the top and bottom edges—just make sure any product you use is also labeled removable. When it’s time to move out, don’t rush the removal: gently heat stubborn adhesives with a hair dryer and peel slowly to avoid damaging the wall. If you do encounter residue, use a gentle, EPA Safer Choice–certified cleaner to avoid harsh chemicals.
A common renter worry is whether the wall will look the same after removal. Some adhesives can discolor paint or leave behind a shadow. To avoid this, avoid leaving the backsplash up for years without inspection. Check periodically for signs of lifting, discoloration, or residue. If you spot trouble early, it’s easier to address without permanent damage. If you do find sticky patches after removal, avoid abrasive scrubbers—opt for soft cloths and gentle solvents. If the paint lifts, a small jar of matching touch-up paint can be a lifesaver.
When to Rethink or Call a Pro
If your kitchen walls are crumbling, have visible mold, or include complicated cutouts around outlets and fixtures you’re not comfortable handling, it’s best to pause and consult your landlord or a professional. Some issues—like persistent water leaks or electrical risks—are not DIY-friendly. For renters seeking more guidance on safe mounting strategies, check /posts/mounting-shelf-safely-guide.
Another scenario that calls for professional input: if you discover signs of pest infestation, water damage, or structural issues behind your current backsplash. Covering up these problems with a temporary solution can make things worse and may even violate your lease. Always document the condition of the walls before making any changes, and communicate with your landlord if you’re unsure about the best approach.
Conclusion: Rental-Friendly Style That Lasts
A removable rental kitchen backsplash can transform a dull rental into a more inviting, personalized space—without risking your deposit. Success depends on choosing the right materials, prepping thoroughly, and troubleshooting as you go. By anticipating the most common failure modes, you’ll save yourself frustration and ensure your upgrade is as easy to reverse as it was to install. The key is to treat the project with the same care as a permanent renovation, even if the materials are temporary. With the right approach, you can enjoy a stylish, functional kitchen that reflects your taste and meets the demands of rental living.
References
U.S. EPA, Safer Choice — labeled safer household products. See https://www.epa.gov/saferchoice.
CDC NIOSH, Falls — fall-hazard context for ladder and DIY work. See https://www.cdc.gov/niosh/topics/falls/.
Article information
Published

About the author
Hazel BennettDIY & Outdoor Projects Writer
Hazel Bennett covers DIY projects and outdoor spaces for TopicFlex. She focuses on stepwise project planning, material lists, and outdoor-space improvements that renters and homeowners can approach carefully.
More from Hazel →This information is general and is not a substitute for professional advice for your specific situation.