Weatherstripping a Drafty Door Without Affecting the Latch
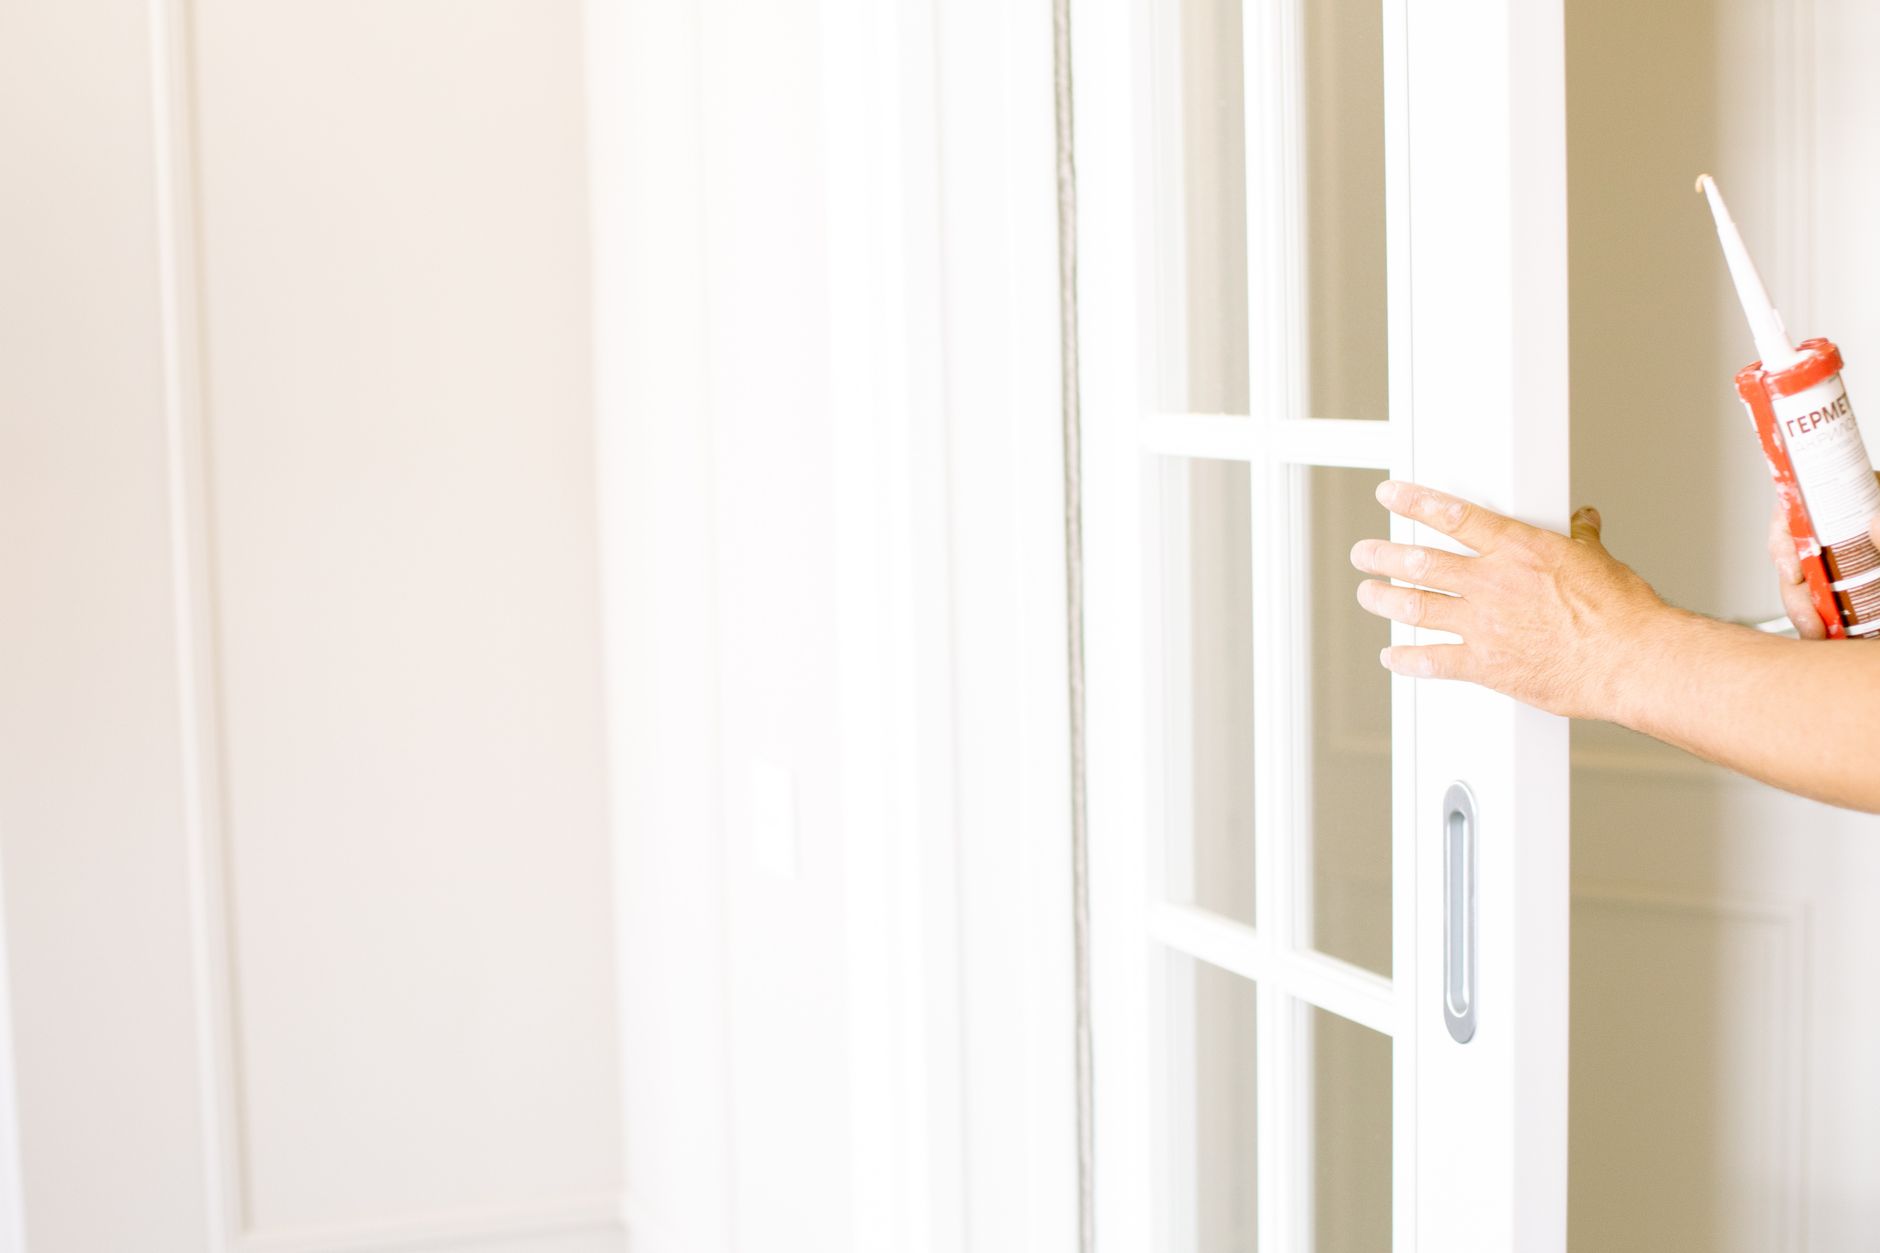
Drafty doors are a common source of wasted energy and discomfort in any home, but sealing the gap without interfering with the latch mechanism requires careful planning. This practical guide walks you through selecting and installing the right weatherstripping to weatherstrip a drafty door, ensuring a snug seal that doesn’t compromise door function or safety. Whether you’re a seasoned DIYer or just starting out, you’ll find actionable advice to make your entryway both energy-efficient and easy to use.
A drafty door can chill your home in winter, raise your utility bills year-round, and even introduce excess moisture or dust. But many homeowners hesitate to weatherstrip a drafty door for fear of making the latch hard to operate or damaging the frame. The good news: with the right materials and a measured approach, you can seal those leaks without compromising the door’s ease of use or its safety features. Understanding the balance between a tight seal and functional hardware is the key to a successful DIY fix.
Drafts are more than just a comfort issue—they can undermine your home’s energy efficiency and even affect indoor air quality. According to the EPA, uncontrolled air leaks can introduce outdoor pollutants and allergens, while also making your heating and cooling systems work harder. That means higher energy bills and more wear on your HVAC equipment. Addressing door drafts is a small project with outsized benefits, both for your wallet and your well-being.
Identifying the Draft Source
Before buying supplies, pinpoint where air is sneaking in. Check for light around the door’s perimeter, especially near the latch and threshold. Run your hand along the edges on a breezy day, or use a lit incense stick to spot air movement. Pay particular attention to the latch side, as too-thick weatherstripping here can prevent the door from closing or latching properly. If you notice significant misalignment or warping, repairing the door or frame may be necessary before adding weatherstripping. For most minor gaps, though, a targeted DIY approach works well.
It’s also worth checking the bottom of the door and the threshold. Many drafts originate here, especially in older homes or those with worn-out sweeps. If you see visible gaps or feel a strong breeze, you may need to address both the sides and the bottom for a complete seal. Sometimes, air leaks are subtle—listen for rattling when the wind blows or notice if dust accumulates quickly near the entryway. These clues can help you zero in on problem spots.
Choosing Weatherstripping That Won’t Interfere
Not all weatherstripping is created equal, especially for the latch side of the door. Look for compressible materials like adhesive-backed foam, thin silicone strips, or low-profile vinyl that allow the door to close snugly without requiring extra force. Avoid bulky or rigid products near the latch, as these can make it difficult to engage the lock or even damage the mechanism over time. When shopping, bring measurements of your door gap and consider asking for samples to test thickness before committing.
The EPA’s WaterSense program also notes that outdoor doors exposed to weather may benefit from more durable, weather-resistant materials. For interior doors or those in protected areas, you can often use lighter-duty strips. The key is to match the material to both the size of the gap and the location of the door. If you’re unsure, start with a thinner, more flexible strip—you can always layer or upgrade later if needed.
Consider these factors when choosing weatherstripping:
Flexibility: Will it compress enough to let the latch engage?
Durability: Is it rated for outdoor exposure if needed?
Ease of installation: Can you cut and apply it without special tools?
Removability: Is it suitable for renters or temporary fixes?
Taking a few minutes to compare products can save you frustration and ensure a longer-lasting solution.
Gathering the Right Tools and Materials
To weatherstrip a drafty door, you’ll need:
A tape measure
Pencil or chalk for marking
Scissors or a utility knife
Chosen weatherstripping material
Rubbing alcohol or mild cleaner for surface prep
A screwdriver if your door has an existing sweep or threshold plate
Having the right tools at hand streamlines the process and reduces the risk of misalignment or waste. Double-check that your adhesive-backed strips are fresh and flexible for best results.
Don’t forget a step stool or small ladder if you’re working on a tall door, and keep a trash bag nearby for old weatherstripping or debris. If you’re replacing a door sweep, check whether it’s screwed in or simply slides into place. Some sweeps require removing the door from its hinges for proper installation—a task that’s easier with a helper.
Prepping the Door for Installation
Remove any old weatherstripping and clean the door frame thoroughly, especially near the latch. Oils, dust, and debris can prevent adhesives from sticking. Use rubbing alcohol or a mild cleaner, and allow surfaces to dry completely. If the door has existing hardware or a sweep at the bottom, inspect these for damage or wear—sometimes a simple replacement here can solve most of your draft problems. For renters, opt for removable, non-damaging options.
A clean, dry surface is critical for long-lasting adhesion. Pay special attention to corners and the area around the latch, where grime can accumulate. If you find signs of moisture or mold, address these issues before proceeding; persistent dampness could indicate a larger problem with your door’s fit or your home’s ventilation. The EPA highlights the importance of controlling indoor moisture to prevent air quality issues, so don’t skip this step.
Installing Weatherstripping Without Hindering the Latch
Start with the hinge side and top of the door, where you can usually use thicker or more robust weatherstripping. For the latch side, cut a strip that matches the measured gap but is thin and compressible enough not to interfere with latch operation. Adhere the strip directly to the frame, not the door itself, and close the door gently to test the fit. If the latch resists or the door is hard to close, trim the strip further or consider a lower-profile material. Never force the latch, as this can damage both the weatherstripping and the lock mechanism.
Work slowly and check your progress as you go. It’s better to trim small amounts off the strip than to start over with a new piece. If your door has decorative trim or unusual contours, you may need to cut the weatherstripping into sections to fit snugly. For doors with more complex hardware, or if you notice the latch still struggles, consult a locksmith or door specialist. The U.S. Consumer Product Safety Commission reminds homeowners that doors must remain easy to open in case of emergency—don’t trade safety for efficiency.
Checking Your Work for Safety and Effectiveness
Once installed, open and close the door several times to ensure smooth operation. The latch should engage securely without extra pressure, and there should be no visible gaps when the door is shut. Use your hand or an incense stick again to check for lingering drafts. If you detect air leaks, adjust or replace the strip as needed. Always ensure that emergency exits remain fully operational—never compromise safety for a tighter seal.
It’s also a good idea to check the strike plate and latch for smooth engagement. If you notice resistance, inspect the weatherstripping for bunching or misalignment. Sometimes, a small adjustment—like repositioning a strip or trimming a corner—can make all the difference. The CPSC recommends regular checks of all doors and locks for proper function, especially in households with children or older adults.
If you’ve replaced a door sweep or threshold, test for drafts by placing a flashlight outside at night and looking for light under the door. Even a small sliver of light can indicate a gap that needs further attention.
Maintaining Your Weatherstripped Door
Weatherstripping isn’t a one-and-done project. Check your work seasonally and after heavy use. Adhesive-backed strips may peel or compress over time, especially in high-traffic areas. Replace damaged sections promptly to maintain energy savings and comfort. Keep the latch and strike plate clean and lubricated to prevent sticking. If you notice persistent moisture or musty odors near the door, consider additional ventilation or moisture control steps to protect indoor air quality, as highlighted by the EPA.
Outdoor doors may need more frequent checks, especially after storms or temperature swings. If you have pets or children, watch for wear at their height—small hands and paws can loosen strips over time. Make a habit of inspecting all exterior doors at the start of each heating or cooling season. This quick check can prevent bigger problems down the line, such as water intrusion or pest entry.
Beyond the Door: Additional Steps for Whole-Home Efficiency
Sealing a drafty door is a great start, but overall home efficiency depends on a holistic approach. The University of Minnesota Extension recommends checking windows, attic hatches, and other exterior penetrations for similar gaps. Caulking, adding door sweeps, and insulating around outlets can further reduce air leaks. Outdoors, make sure landscaping and gutters direct water away from entryways to prevent moisture problems that can compromise your weatherstripping work.
Consider these broader steps:
Inspect and replace worn weatherstripping on all exterior doors
Add door sweeps or draft stoppers for extra protection
Address window leaks with caulk or foam sealant
Maintain gutters and downspouts to prevent water pooling near doors
These simple actions, combined with regular door maintenance, can significantly improve your home’s energy performance and comfort.
When to Call a Professional
If your door won’t latch even after careful weatherstripping, or if you encounter warped frames, complex hardware, or security locks, it’s best to consult a professional. Attempting to force repairs in these cases can create safety hazards or void warranties. For major air leaks, structural gaps, or water intrusion, a qualified contractor can assess and repair underlying issues.
The CPSC maintains an updated list of door and lock recalls—if your hardware is difficult to operate or you suspect a defect, check their database for safety notices. Professional installers can also recommend advanced weatherstripping solutions for unusually shaped doors or historic homes where preservation is a concern.
Hazel Bennett covers DIY projects and outdoor spaces for TopicFlex. She focuses on stepwise project planning, material lists, and outdoor-space improvements that renters and homeowners can approach carefully.
Store-bought planters are often the wrong size, too flimsy, or made from questionable materials. With basic tools and a straightforward plan, you can build a sturdy raised bed sized for a patio or balcony—complete with the site checks, material choices, and drainage details that keep it safe to use.
Mounting a shelf safely isn’t just about style—it’s about ensuring your wall, hardware, and installation method can handle the weight and use you have in mind. This guide walks you through each key decision, from evaluating your wall to choosing the right anchors, and highlights when to call a professional. Learn how to avoid common hazards and make your DIY shelf project both sturdy and safe.
Tackling a rental accent wall project can be a balancing act—transforming your space while making sure you don’t risk your deposit or violate your lease. This narrative walks through a practical day spent planning, prepping, painting, and restoring an accent wall in a rental, with a focus on reversible choices, safe materials, and clear communication with your landlord. Learn how to select the right paints, ventilate properly, and return your wall to its original state, all with safety and compliance in mind.
Renters often crave a kitchen upgrade but fear losing their deposit or damaging the walls. A removable rental kitchen backsplash promises style and practicality, but the process is riddled with pitfalls. From adhesive mishaps to moisture traps and uneven surfaces, this troubleshooting guide explores how to sidestep disappointment and create an upgrade that’s both attractive and truly removable. Learn how to select the right materials, prep your space, and avoid the most common failure modes—so your kitchen refresh is as stress-free as it is stylish.