Beginner Home Tool Kit Essentials: A Stepwise Guide for Practical DIY

- •Why the Right Starter Tools Matter
- •Building Your Essential Toolkit: The Core Items
- •Selecting Tools That Fit Your Home
- •Organizing Your Tools for Quick Access
- •Storing and Maintaining Tools Safely
- •When to Add (or Skip) Power Tools
- •Avoiding Clutter: What Not to Include
- •Quick Reference: Core Tools and Their Uses
- •Tool Safety: What Every Beginner Should Know
- •References
Why the Right Starter Tools Matter
Building Your Essential Toolkit: The Core Items
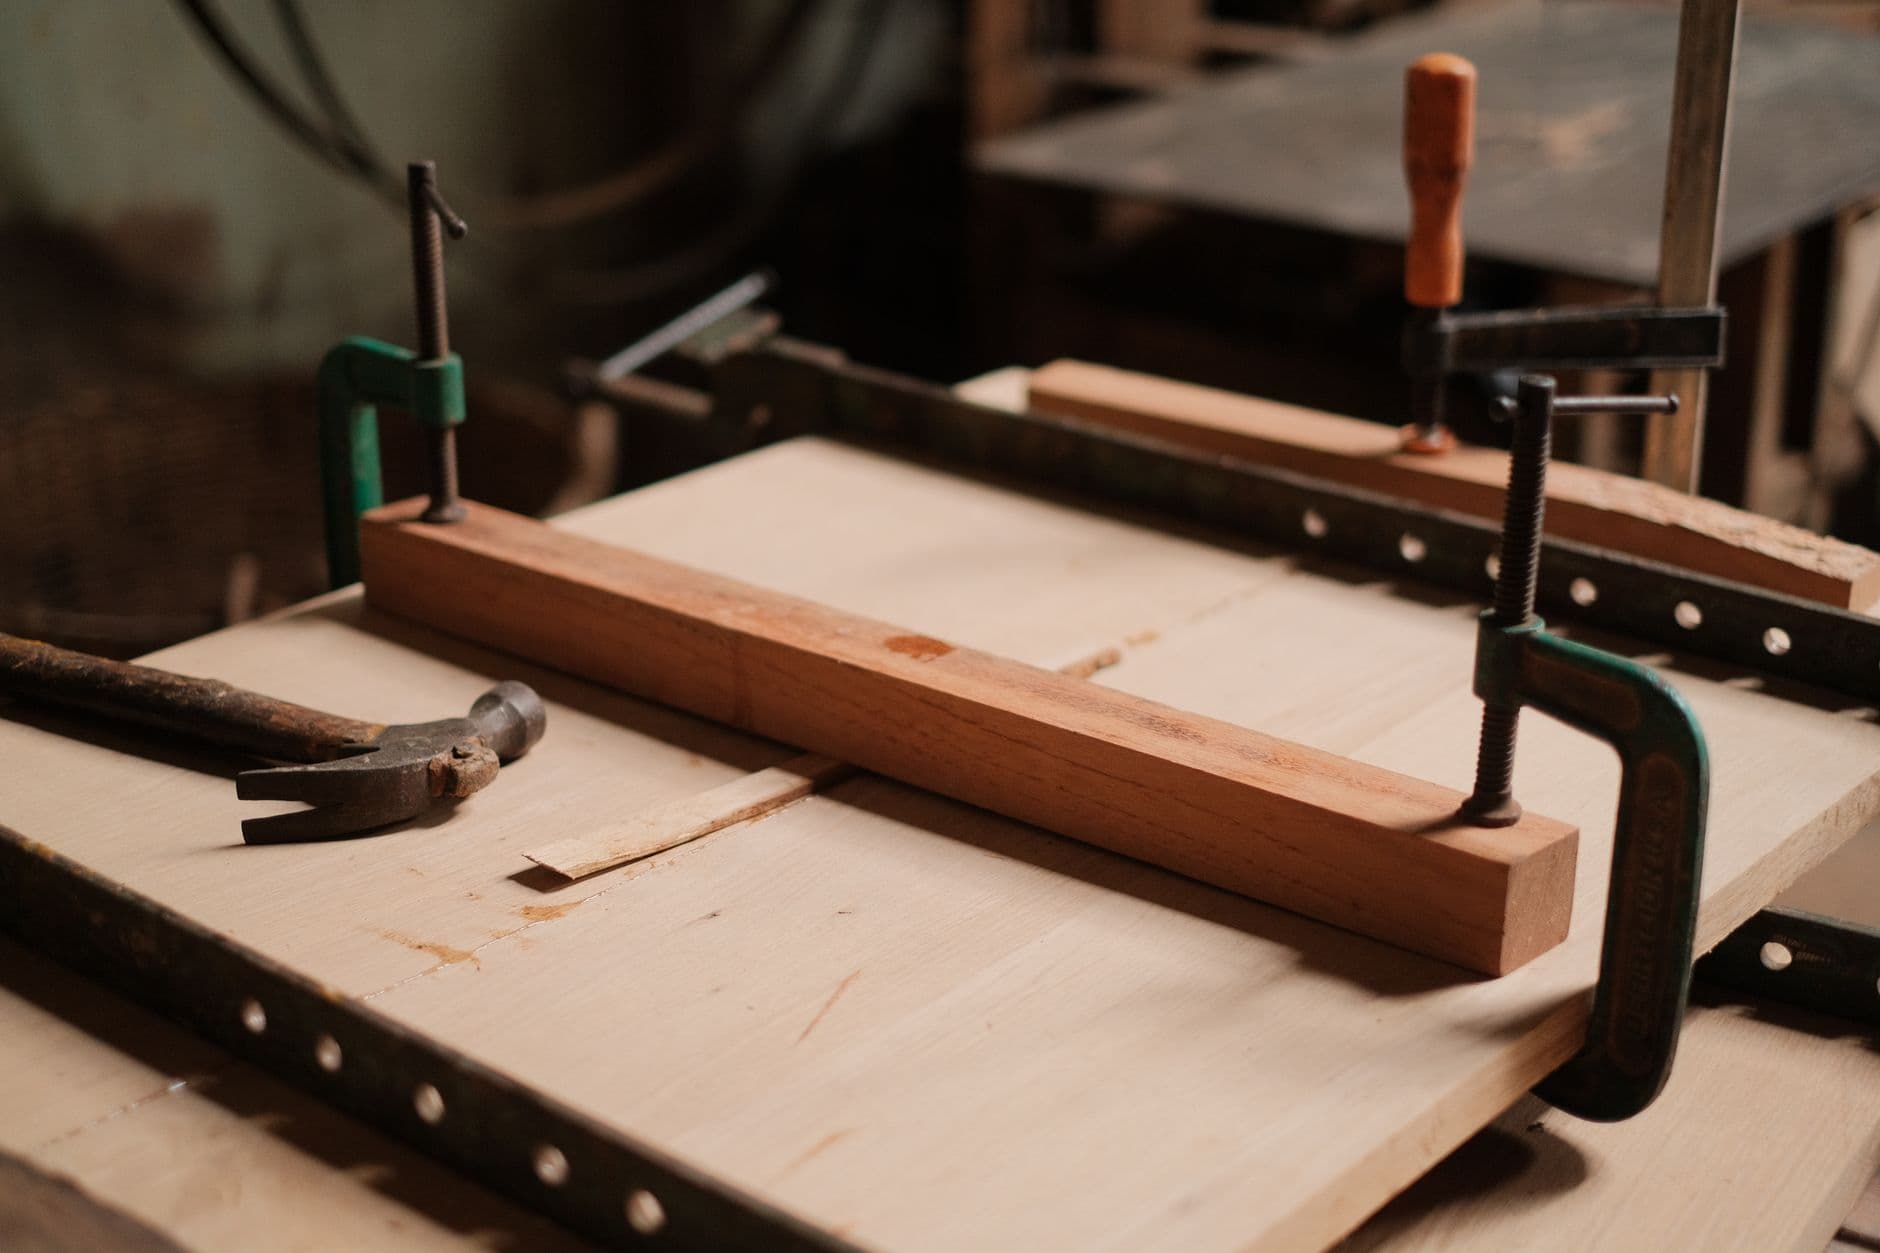
- Claw hammer (16 oz): For hanging, assembling, and light demolition.
- Multi-bit screwdriver: Handles a range of screws; look for comfortable grip and reliable bit storage.
- Tape measure (at least 16 feet): Ensures accurate measurements for furniture, curtains, or repairs.
- Adjustable wrench: Tightens or loosens bolts and plumbing fixtures.
- Needle-nose pliers: Grips, bends, and cuts wire or small fasteners.
- Utility knife: Opens boxes, trims materials—change blades regularly for safety.
- Level: Hangs shelves and frames straight.
- Flashlight or headlamp: Illuminates tight or dark spaces.
Selecting Tools That Fit Your Home
Organizing Your Tools for Quick Access
Storing and Maintaining Tools Safely
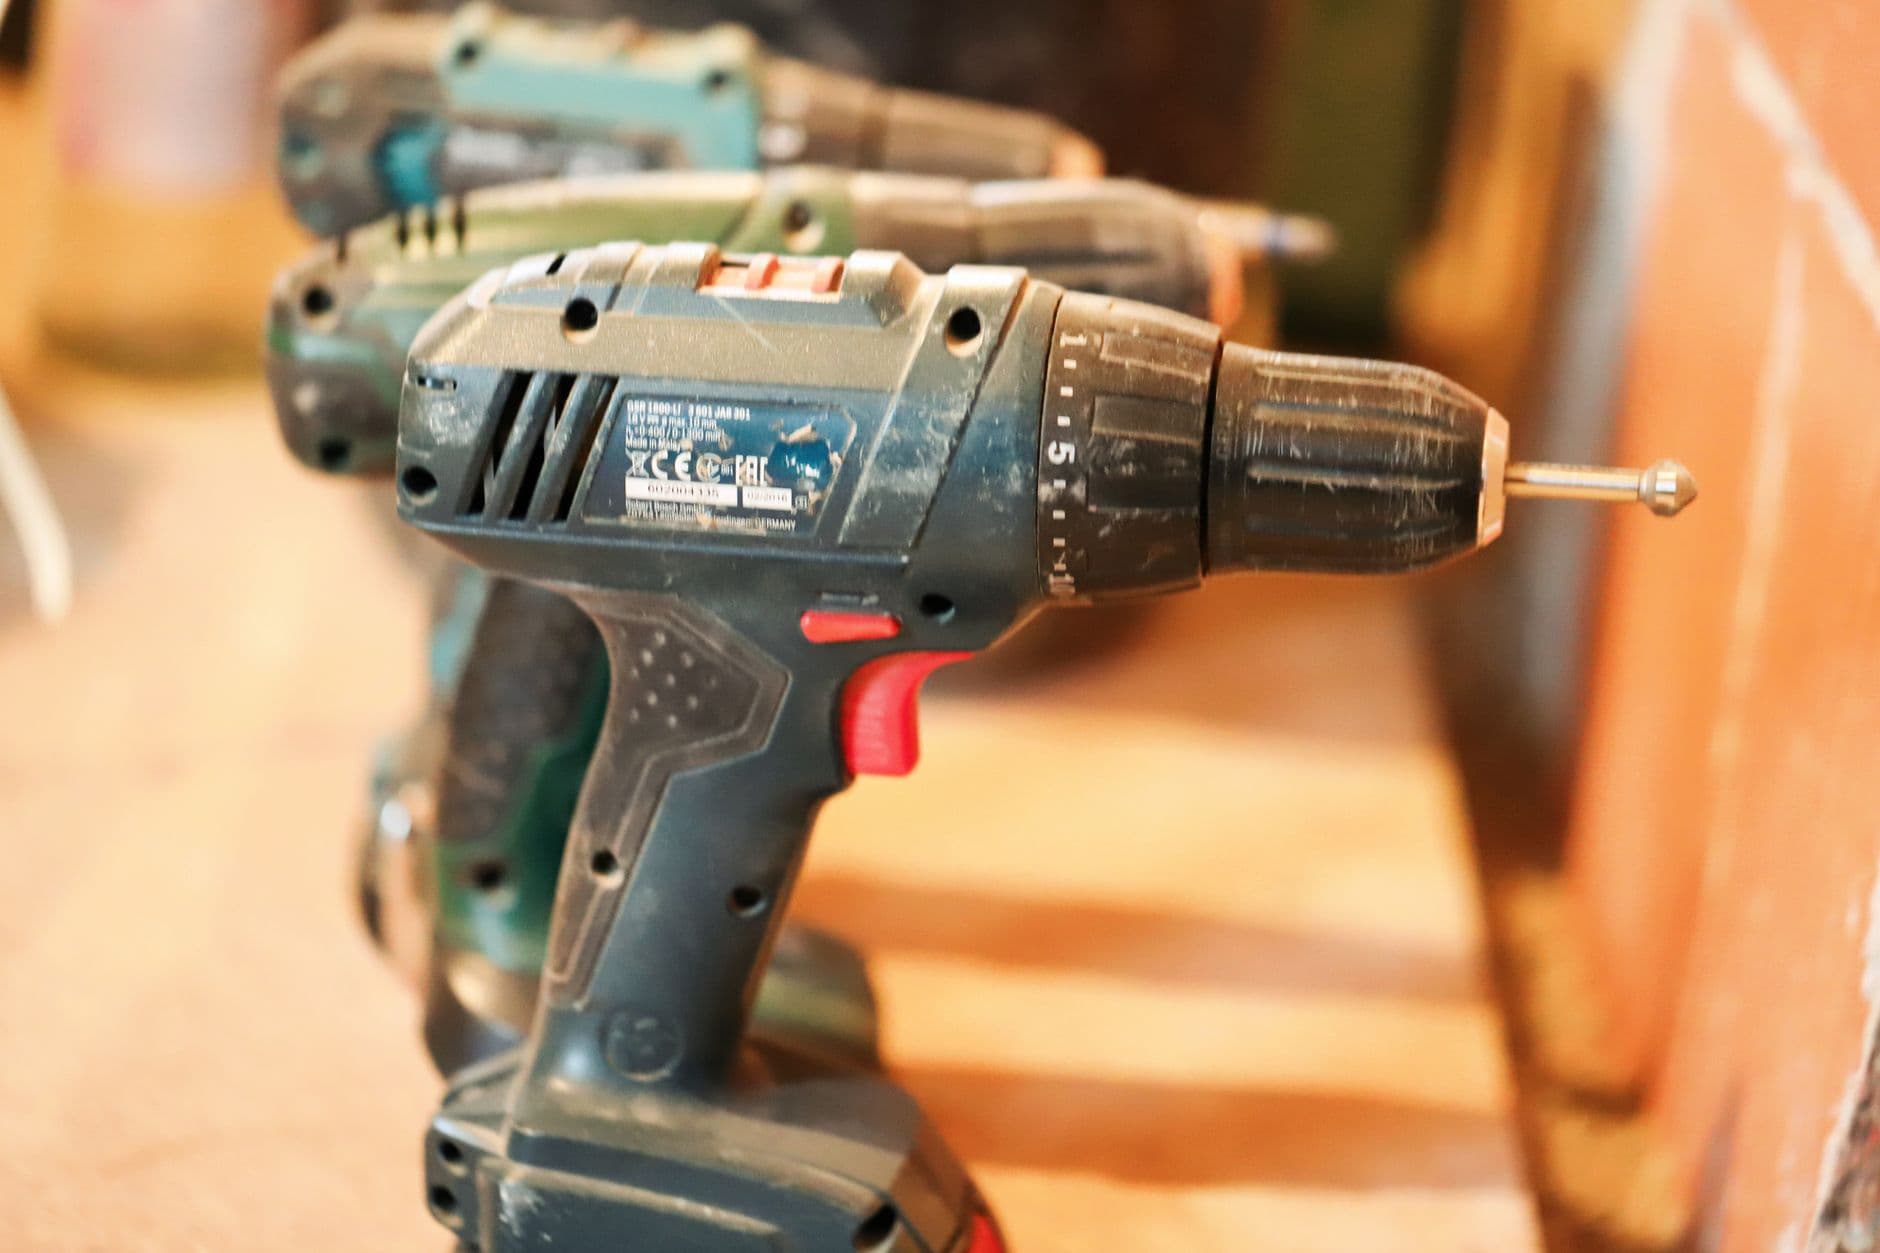
When to Add (or Skip) Power Tools
Avoiding Clutter: What Not to Include
Quick Reference: Core Tools and Their Uses
| Tool | Primary Use | When to Upgrade/Expand |
|---|---|---|
| Claw Hammer | Nails, light demolition | If working with masonry or heavy framing |
| Multi-bit Screwdriver | Assembling/disassembling, general repairs | If encountering specialty screws |
| Tape Measure | Measuring for placement, cuts | For large projects, get a longer tape |
| Adjustable Wrench | Bolts, plumbing fixtures | For frequent plumbing, add channel-lock pliers |
| Needle-nose Pliers | Gripping, bending wire, small cuts | Upgrade for electrical work |
| Utility Knife | Opening boxes, trimming | Replace blades when dull |
| Level | Straightening shelves, frames | Upgrade to laser level for frequent installs |
| Flashlight/Headlamp | Lighting work areas | Rechargeable for frequent use |
Tool Safety: What Every Beginner Should Know
References
Home safety guidance for tool use, storage, and product selection referenced from U.S. Consumer Product Safety Commission, Home Safety Guides. https://www.cpsc.gov/Safety-Education/Safety-Guides/Home
Tool and product recall information sourced from U.S. Consumer Product Safety Commission, Recalls database. https://www.cpsc.gov/Recalls
Guidance on lead-safe work practices for homes with older paint from U.S. Environmental Protection Agency, Lead Renovation, Repair and Painting Program. https://www.epa.gov/lead/lead-renovation-repair-and-painting-program
Indoor air quality considerations for tool use and ventilation referenced from U.S. Environmental Protection Agency, Indoor Air Quality. https://www.epa.gov/indoor-air-quality-iaq
Ladder and fall safety context applicable to home DIY from CDC NIOSH, Falls in the Workplace. https://www.cdc.gov/niosh/topics/falls/
Article information

About the author
Scarlett HayesTools, Organization & Smart Home Contributor
Scarlett Hayes writes TopicFlex's tools, organization, and smart-home basics. She explains product categories, storage systems, and beginner-friendly automation ideas.
More from Scarlett →This information is general and is not a substitute for professional advice for your specific situation.