Choosing the Correct Drill Bit for Wood, Metal, Tile, and Masonry
Nothing derails a home project faster than using the wrong drill bit. Whether you’re mounting shelves, installing curtain rods, or tackling bathroom tile, choosing the correct bit isn’t just about efficiency—it’s about preventing damage to your tools, your materials, and sometimes even your safety. This drill bit types guide helps you decide not just what to use, but when to pause and rethink before you drill, especially when working with unfamiliar materials or in homes built before 1978.
Imagine you’re about to hang a heavy mirror in your bathroom. You reach for your drill, but pause—should you use the same bit for ceramic tile that you’d use for drywall or wood? The answer is almost always no. Using the wrong drill bit not only risks ruining the material (cracked tile, splintered wood, mangled metal), but can also damage your drill, create unsafe dust, or even spark fire hazards. The stakes are higher if you’re drilling into surfaces with hidden pipes, wires, or potential lead paint. The right drill bit types guide helps you act with confidence—or know when it’s time to stop and reassess.
Drilling is deceptively simple, but the consequences of a poor choice can be costly. A single mistake can mean a cracked countertop, a ruined wall, or exposure to hazardous materials. Even experienced DIYers sometimes overlook hidden dangers, especially in older homes where construction methods and materials may differ. The right bit, used the right way, can be the difference between a satisfying project and an expensive repair.
References
Before reaching for a drill bit, identify exactly what you’re about to drill into. Wood, metal, tile, and masonry each demand specific bits, and the signs of mismatched use are unmistakable: smoke, burning smells, chipping, or a bit that simply won’t bite. If you’re unsure about the material (especially in older homes where layers may be hidden), err on the side of caution. For surfaces painted before 1978, stop before drilling and review EPA lead safety rules, as disturbing old paint can release hazardous dust. See https://www.epa.gov/lead/lead-renovation-repair-and-painting-program for detailed guidance.
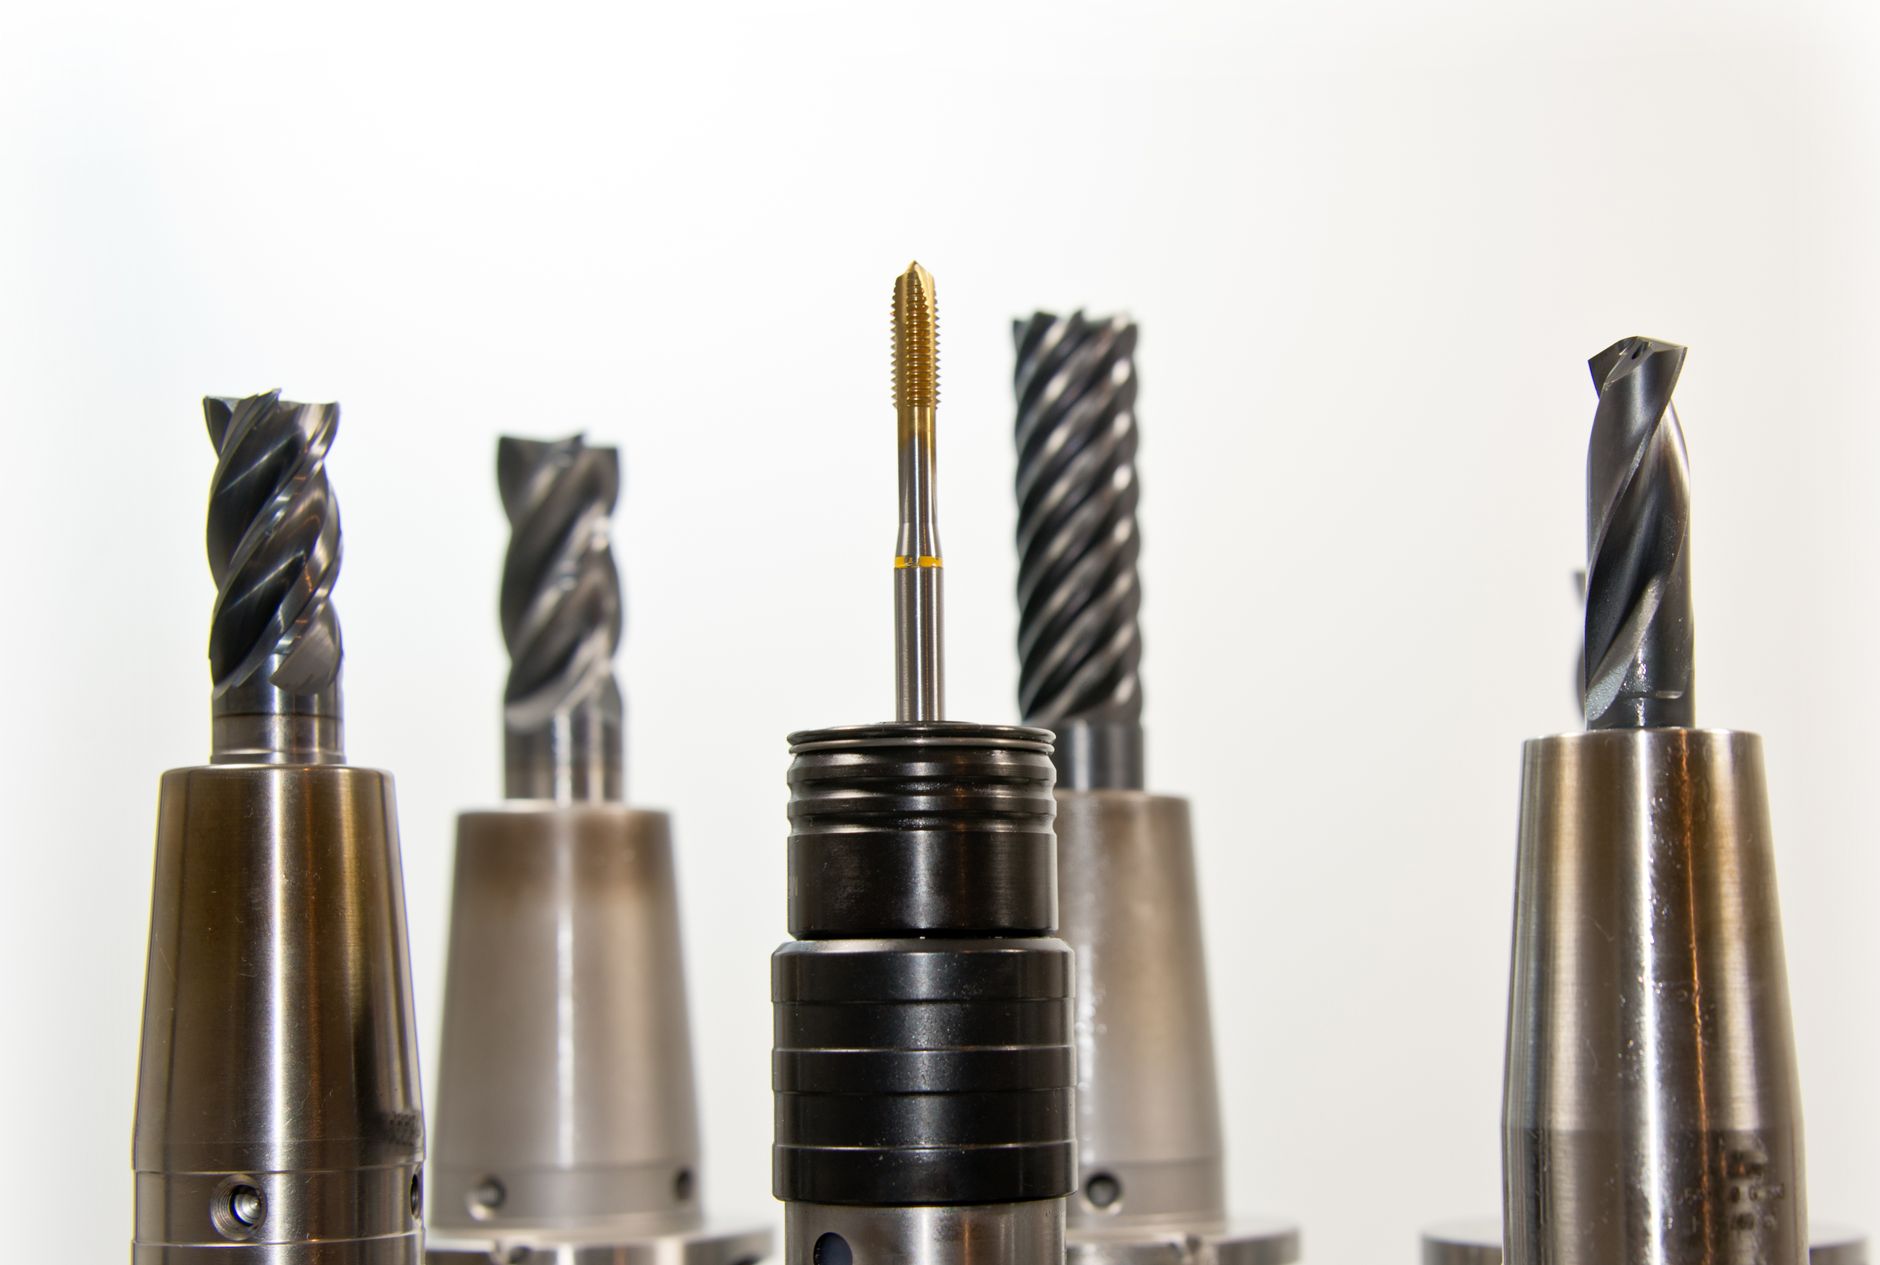
For most softwoods and plywood, standard twist bits or brad-point bits work well. If you notice splintering around the exit hole, stop and use painter’s tape over the exit point, or back up the workpiece with scrap wood. For hardwoods, move slowly and avoid forcing the drill—if you see smoke, let the bit cool. Never use spade bits for delicate furniture or visible surfaces; they’re best for rough construction. If you’re just starting out, see /posts/beginner-home-tool-kit-essentials for a rundown on must-have bits for wood.
When drilling into wood, pay attention to the grain direction. Drilling across the grain increases the risk of splintering, especially near edges. If the bit starts to wander or doesn’t seem to cut cleanly, stop and check for dullness or the wrong bit type. For deep holes, pull the bit out periodically to clear wood chips and prevent overheating. If the wood feels unusually hard or dense, don’t force the drill—switch to a sharper bit or pre-drill with a smaller size first.
If you encounter old painted wood, especially in homes built before 1978, pause before drilling. Disturbing old paint can release lead dust, which is a serious health hazard. The EPA’s lead renovation guidelines spell out when to stop and consult a certified professional (https://www.epa.gov/lead/lead-renovation-repair-and-painting-program). If you’re not sure about the paint’s age, err on the side of caution and seek testing before proceeding.
Metal: Slow and Steady Prevents Burnout
Drilling into metal requires high-speed steel (HSS) or cobalt bits. Always use a slow drill speed and a drop of oil as lubricant. If you see blue chips or smell burning, stop immediately—the bit is overheating, which can dull it or snap it. For thick steel or unknown alloys, reconsider DIY: improper drilling can create sharp shards and hazardous sparks. If you’re unsure about your drill’s power, review /posts/cordless-drill-features-beginners for tips on choosing the right tool for tougher materials.
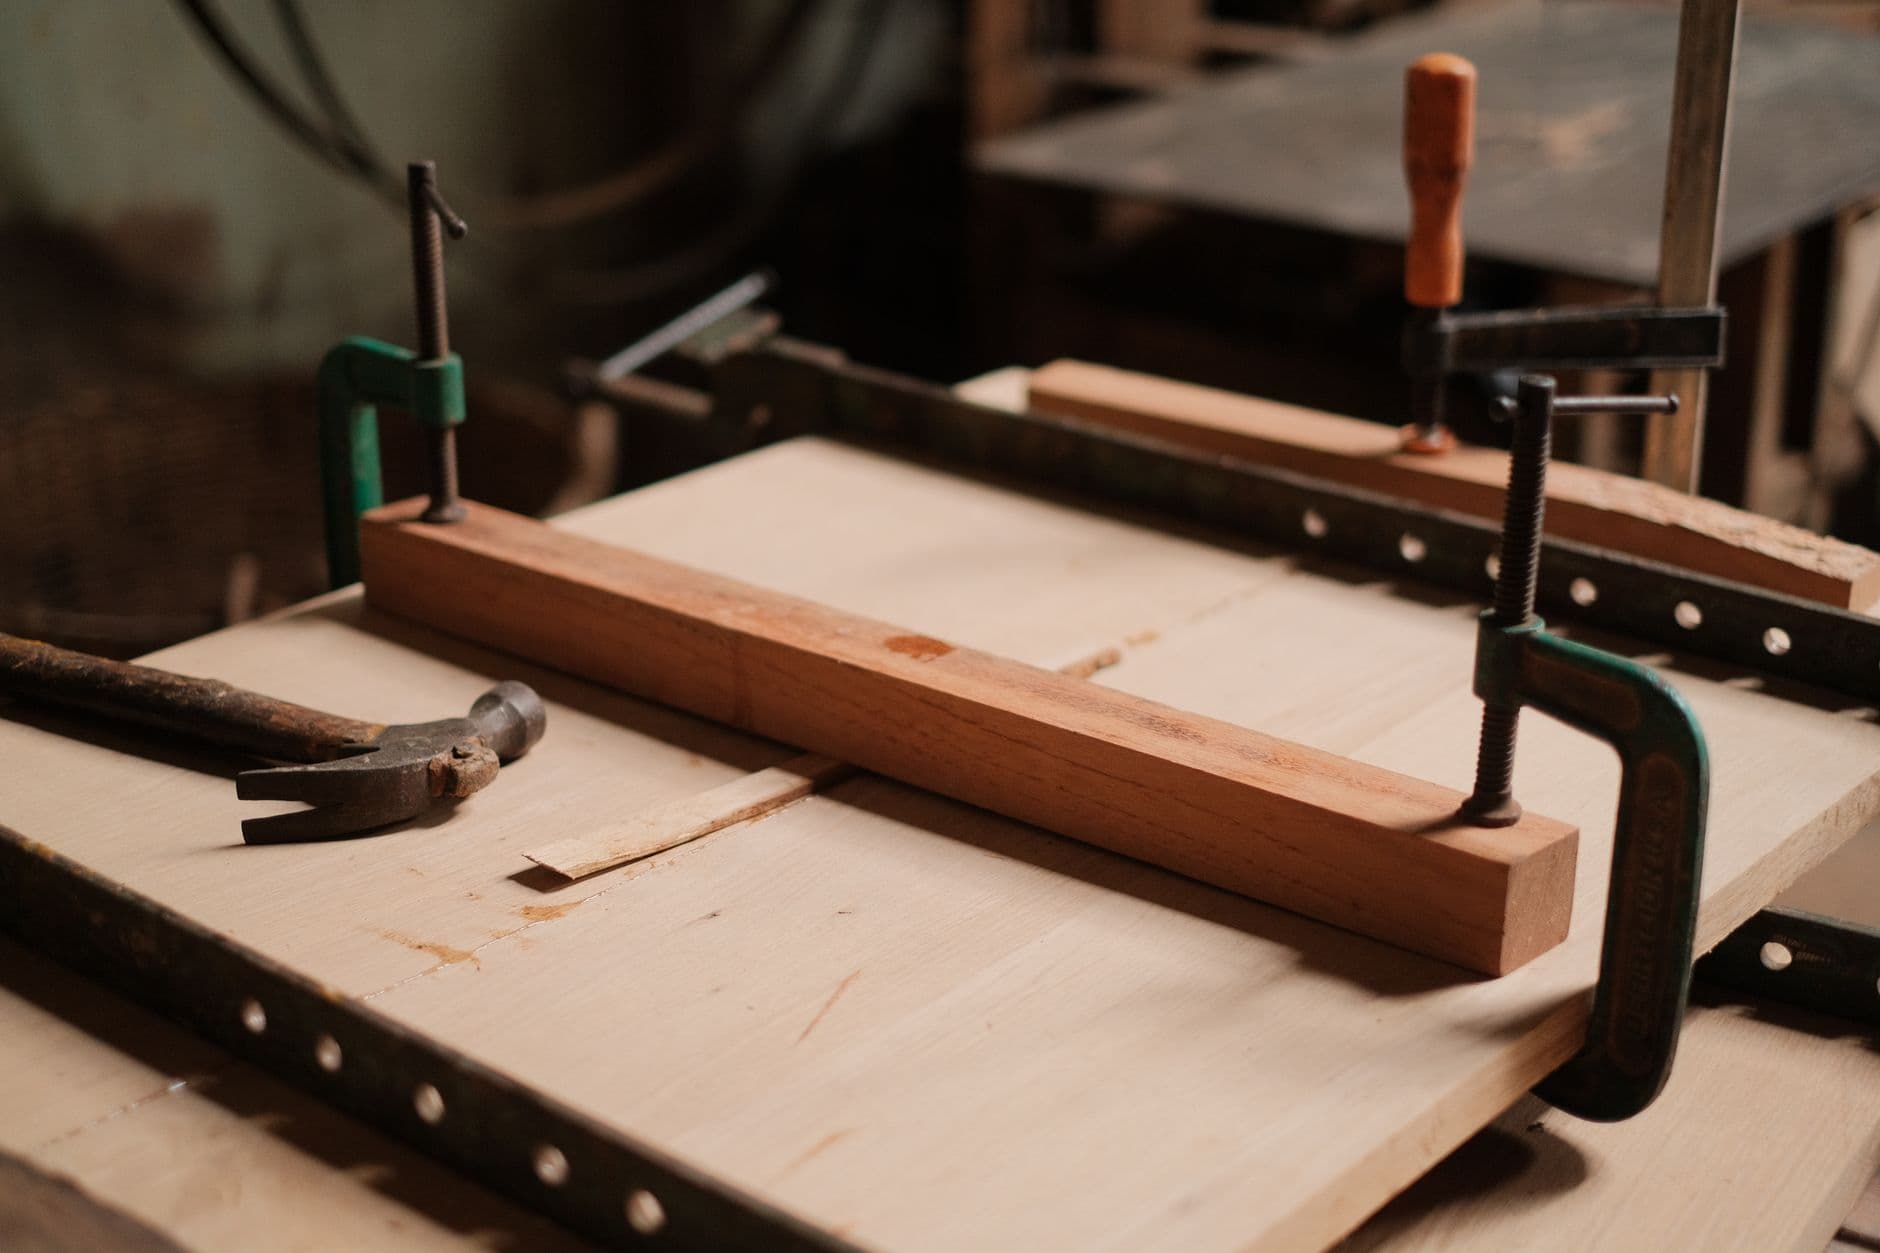
Metal can be unforgiving. If the bit starts to squeal or the drill bogs down, check your speed and pressure. Too much force or speed can overheat the bit, leading to rapid dulling or even breakage. Always clamp the workpiece securely—loose metal can spin dangerously if the bit catches. If you notice the bit skating across the surface without biting in, stop and use a center punch to create a small indentation before restarting. For thin sheet metal, use a backing block to prevent deformation or tearing.
If you’re working near electrical panels or plumbing, be aware of the risk of sparks. Drilling into metal near flammable materials or gas lines is a red flag—stop and evaluate whether it’s safe to continue. When in doubt, consult a professional or your local building codes for guidance.
Tile and Glass: Patience and Precision Required
Ceramic tile, porcelain, and glass demand carbide-tipped or diamond bits. Never use standard wood or metal bits—these will skid and crack the surface. Mark your spot with masking tape to prevent the bit from wandering. Drill at a low speed, applying minimal pressure. If the bit overheats or the tile starts to crack, stop and let things cool. For thick or expensive tile, or when working near plumbing, it’s often smarter to call a professional. Damaged tiles are costly to replace, and water leaks can cause hidden mold growth. For more on mold risks after leaks, see EPA’s cleanup guidance: https://www.epa.gov/mold/mold-cleanup-your-home.
Tile drilling is a slow process. If you notice chipping or hear a popping sound, stop immediately—this usually means the bit is wrong or you’re applying too much pressure. Drilling too quickly or without proper cooling can shatter the tile or glass. For glass, always use a specialized glass bit and keep the area wet to reduce heat. If you see hairline cracks radiating from the hole, stop and reassess your technique before continuing.
If you’re drilling in a bathroom or kitchen, be mindful of what’s behind the tile—pipes, wiring, and waterproofing membranes are common. Accidentally puncturing a pipe can cause leaks, which, if not caught quickly, lead to mold growth inside walls. If you suspect a leak or moisture problem, refer to the EPA’s mold cleanup advice (https://www.epa.gov/mold/mold-cleanup-your-home) before proceeding with repairs.
Masonry: Hammer Time—Or Time to Pause
Concrete, brick, and stone require masonry bits, which have a carbide tip and a distinctive chisel-like end. Use a hammer drill for best results. If your drill can’t switch to hammer mode, stop before proceeding—forcing a standard drill can burn out the motor and barely make a dent. When drilling near electrical lines or gas pipes, always double-check locations and consider shutting off utilities. For emergency shutoffs and fire safety, consult Ready.gov: https://www.ready.gov/.
Masonry dust is hazardous—wear a mask and eye protection. If you notice the bit isn’t making progress, or if the drill feels hot or starts to smoke, stop and evaluate. Sometimes the bit is simply dull, but it could also mean you’ve hit rebar or another obstruction. Never force the drill through reinforced concrete; specialized bits and tools are required. If you’re unsure about what’s inside the wall, use a stud finder with deep scan or consult building plans before drilling.
Drilling into exterior masonry can also affect your home’s weatherproofing. If you see water seeping in after a project, address it immediately to prevent mold or structural damage. For guidance on moisture control and emergency preparedness, Ready.gov (https://www.ready.gov/) provides checklists and tips.
Signs You Need to Stop (and What to Do Next)
If you notice any of the following, stop drilling immediately:
The bit is smoking, glowing, or producing burning smells
The drill bogs down or stalls
The material chips, cracks, or splinters unexpectedly
You hit unexpected resistance or voids
There’s a chance of hidden hazards (pipes, wiring, asbestos, or lead paint)
In these cases, assess the situation. Sometimes, switching to the right bit or adjusting speed solves the problem. But if you suspect hidden dangers, unfamiliar materials, or structural risks, consult a professional. Fire risks and utility hazards are real—know how to shut off your home’s main water, gas, and electrical supply. For home fire safety, see https://www.redcross.org/get-help/how-to-prepare-for-emergencies/types-of-emergencies/fire.html.
If you’re drilling in an attic, basement, or crawlspace, be especially cautious. These areas often have hidden wiring, plumbing, or even asbestos insulation. If you see dust that looks unusual (blue, gray, or fluffy), stop and investigate before proceeding. When in doubt, use a non-contact voltage tester or pipe locator to check behind surfaces. If you trigger a circuit breaker or smell gas, evacuate and call emergency services. The Red Cross and Ready.gov both provide step-by-step guides for responding to home emergencies, including fire, gas leaks, and electrical hazards.
Matching the Bit to the Drill: Don’t Overlook the Basics
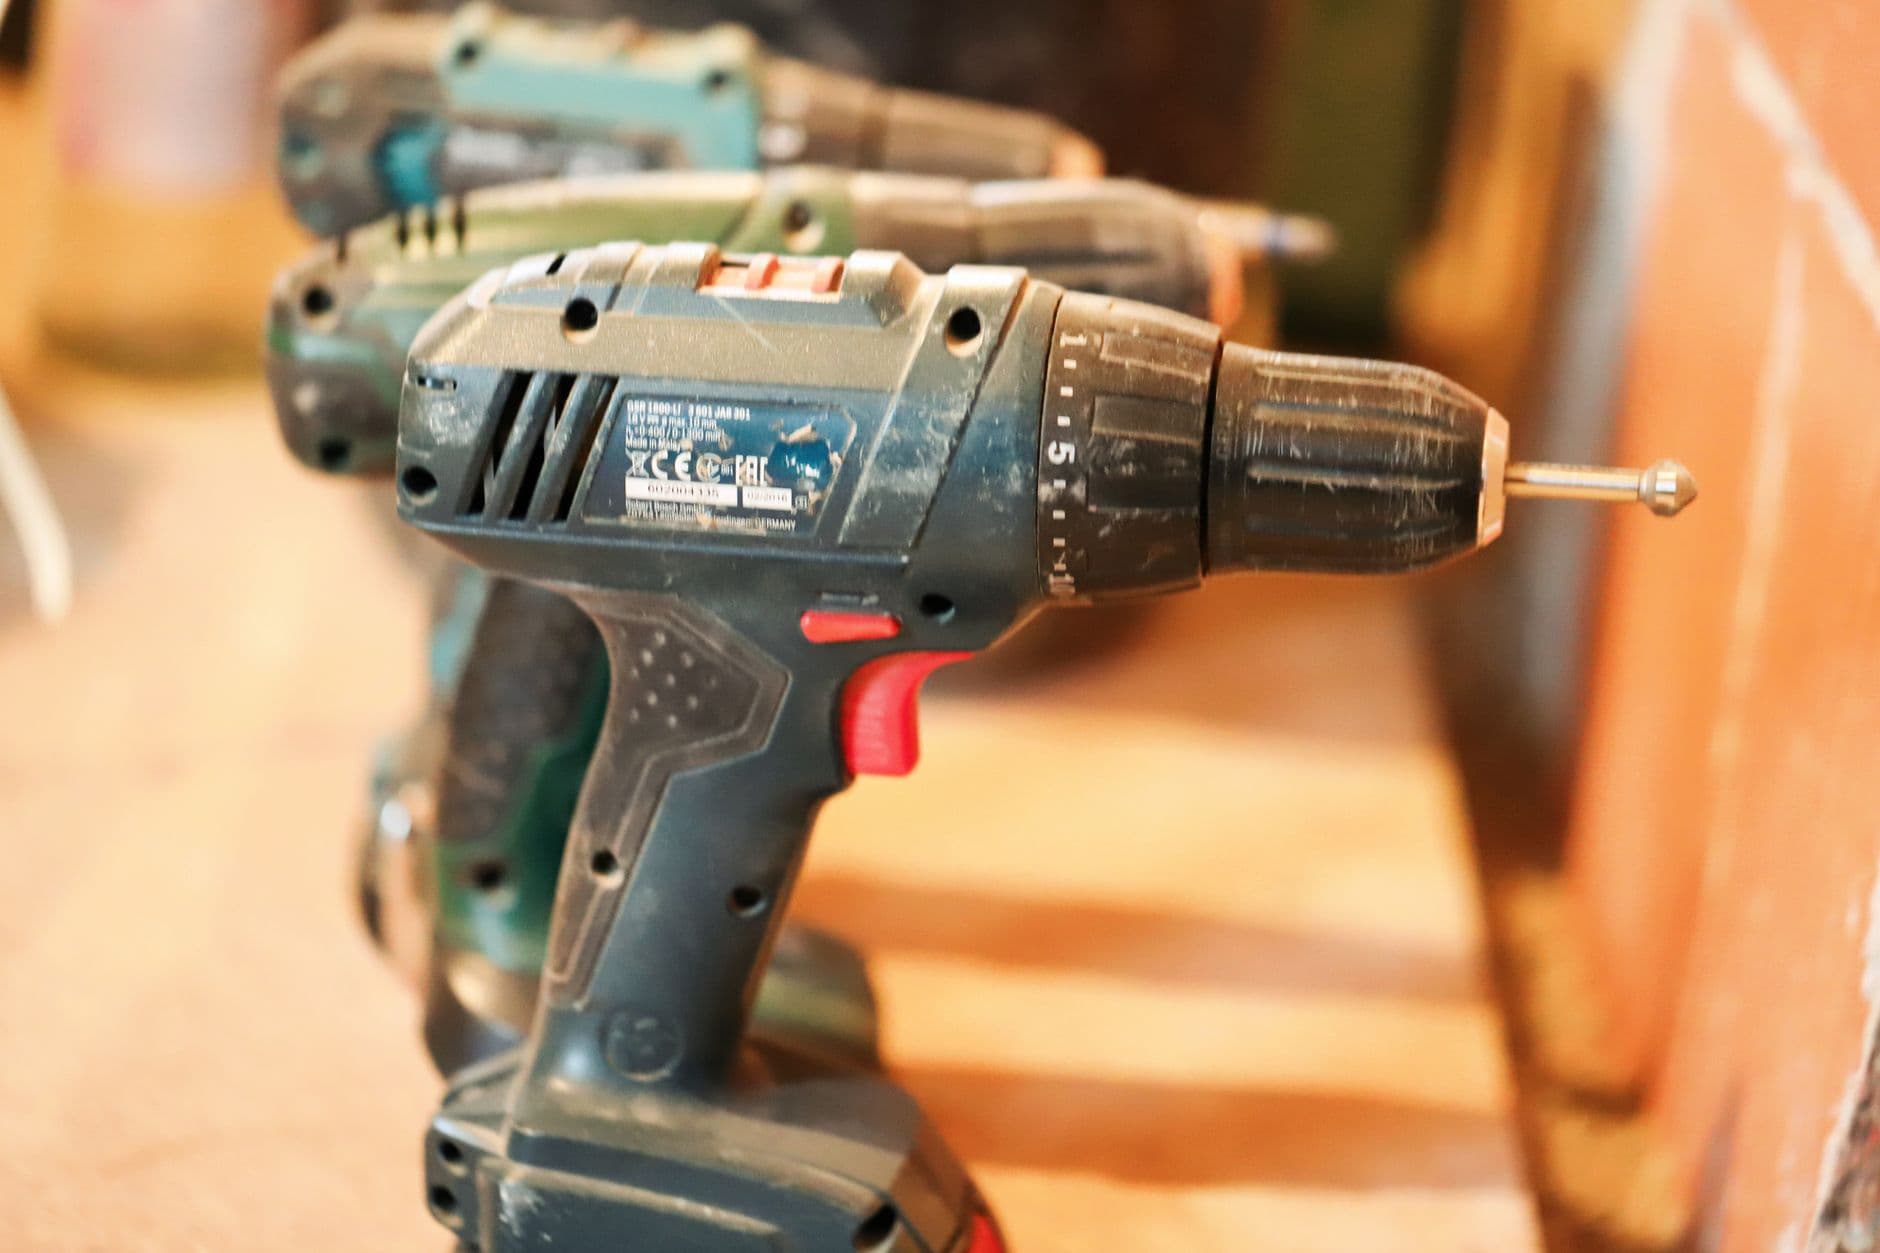
Even the best drill bit won’t perform if it’s not suited to your drill. Lightweight cordless drills may lack the torque for masonry or thick metal. Make sure your chuck size matches the bit’s shank. For beginners, /posts/cordless-drill-features-beginners covers key drill features and compatibility tips. If your drill vibrates excessively or the bit slips, stop and check your setup before proceeding.
Some projects require a hammer drill or an impact driver, not a standard drill. Forcing the wrong tool can damage both the drill and the bit, and may even void warranties. If you notice the bit wobbling or not seating properly, stop and inspect for wear or damage. Always check the manufacturer’s recommendations for both the drill and the bit before tackling a new material. If you’re unsure, take the bit and drill to a hardware store for advice.
When to Upgrade Your Kit
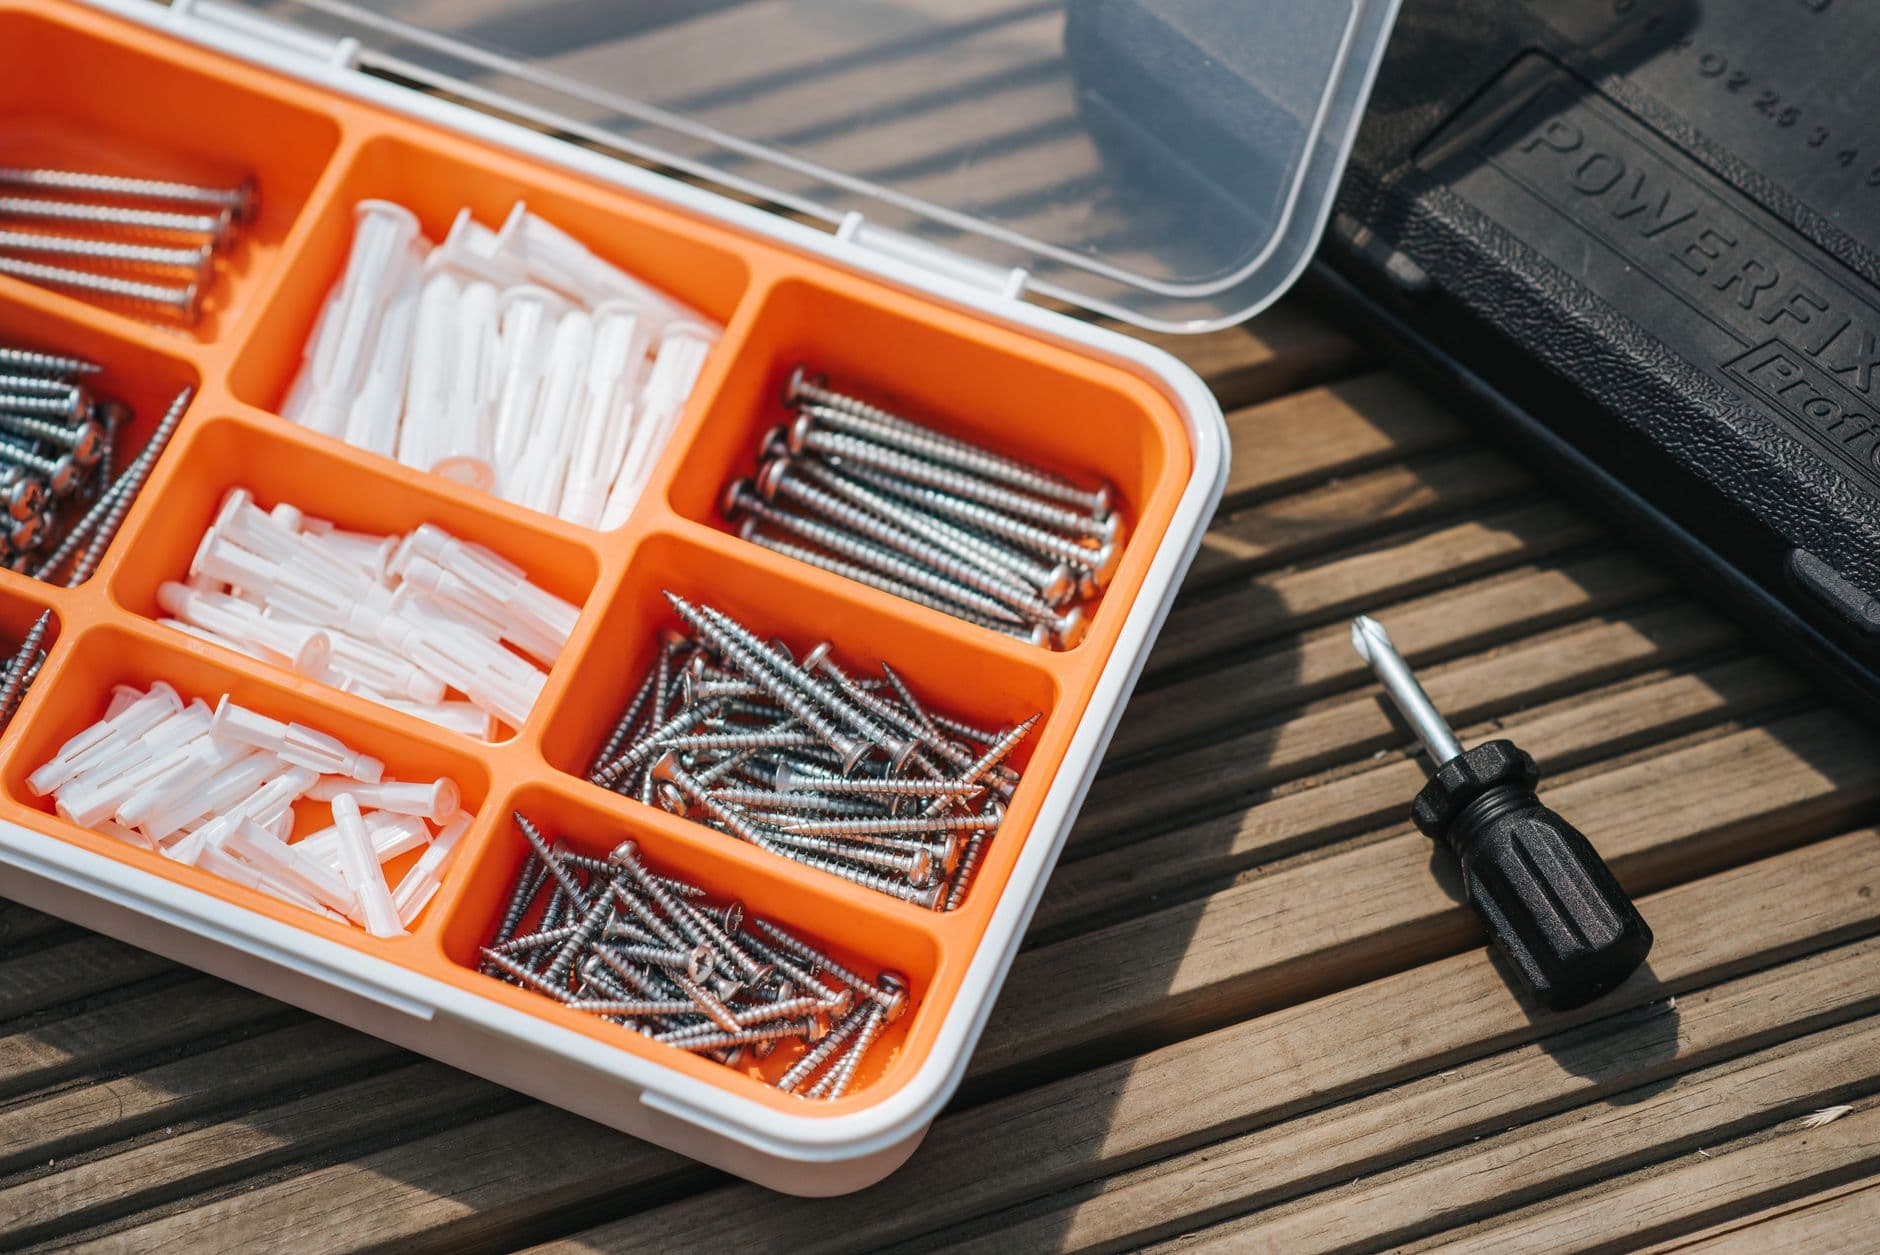
If you find yourself improvising—using wood bits on metal, or forcing a standard drill through tile—it’s time to expand your toolkit. Investing in a basic set of wood, metal, masonry, and tile bits prevents damage and frustration. For a starter list, see /posts/beginner-home-tool-kit-essentials. Quality bits last longer and save you money in the long run.
Don’t wait until a bit breaks or a project stalls to upgrade. If you notice bits wearing out quickly, or if you’re tackling new materials (like tile or masonry), invest in specialized bits. Many home improvement stores sell multi-material sets, but these are often a compromise—dedicated bits for each material are safer and more effective. If you’re unsure what you need, bring a sample of the material to the store and ask for recommendations. Remember, the right bit is an investment in both your project’s success and your safety.
Deciding When to Act and When to Stop: A Practical Approach
Every drilling project is a decision point. Before you pick up the drill, ask yourself: Do I know what’s behind this surface? Am I using the right bit and drill for this material? Have I checked for hazards like lead, asbestos, or hidden pipes and wires? If the answer to any is no, pause and investigate. Acting without this knowledge can result in injury, property damage, or exposure to toxins.
If you’re confident in your setup and materials, proceed—but stay alert for warning signs like smoke, vibration, or resistance. If anything feels off, stop and reassess. Sometimes, the safest and most cost-effective choice is to call a professional, especially when dealing with unfamiliar materials, potential hazards, or complex installations.
For every project, have a plan for emergencies. Know where your shutoffs are, keep a fire extinguisher nearby, and have a first-aid kit on hand. The EPA, Ready.gov, and the Red Cross all offer detailed guides for handling home emergencies, from fires to floods to hazardous material exposure. Preparation and caution are your best tools—alongside the right drill bit.
Scarlett Hayes writes TopicFlex's tools, organization, and smart-home basics. She explains product categories, storage systems, and beginner-friendly automation ideas.
Hardware aisles are full of cordless drills with features you may never use. For typical home projects, a few specs actually matter—clutch control, variable speed, battery platform, and basic safety habits. Here is how to choose one and put it to work on a common job like hanging shelves.
Starting home projects without the right tools can turn a simple fix into a major headache. This guide explains how to build a beginner home tool kit that covers the most common household repairs and improvements—without cluttering your space or risking safety. Learn which tools truly matter, how to organize and care for them, and when to call in a professional.
Choosing the right clamp can make or break your first DIY project. This guide helps beginners navigate the wide world of clamp types, from gluing up a wobbly chair to building raised planters. Learn when to reach for a quick-grip, when to stop and rethink your approach, and why the wrong clamp can ruin a project or even pose a safety risk. Discover practical tips for safe, effective clamping that lead to smoother results in all your everyday DIY tasks.
Choosing the right sandpaper grit can make or break your DIY project, whether you're prepping a planter box, refinishing a door, or smoothing drywall. This practical guide sequences a realistic home improvement day, explaining when to reach for coarse, medium, or fine grits—so you avoid wasted effort and get pro-level results. Along the way, you'll learn how grit choices affect not only your finish but also your safety, air quality, and tool longevity.