Sandpaper Grits Explained Through Real Home Projects
Choosing the right sandpaper grit can make or break your DIY project, whether you're prepping a planter box, refinishing a door, or smoothing drywall. This practical guide sequences a realistic home improvement day, explaining when to reach for coarse, medium, or fine grits—so you avoid wasted effort and get pro-level results. Along the way, you'll learn how grit choices affect not only your finish but also your safety, air quality, and tool longevity.
Morning Dilemma: Prepping for a Productive DIY Day
You’ve set aside a Saturday to tackle two lingering projects: building a raised planter for the backyard and finally refinishing that scuffed-up interior door. Before you even reach for your sander, you’re confronted with the wall of sandpaper options—numbers like 40, 80, 120, and 220. The wrong choice means wasted time, ruined surfaces, or even a safety hazard from flying dust. How do you pick the right grit for each task? Let’s walk through a realistic project sequence, demystifying sandpaper grits as you go.
The day starts with a quick inventory of your supplies. You lay out your sandpaper sheets and check your tools for any wear or damage, making sure everything is in working order. You also think ahead to cleanup: where will the dust go, and how will you keep it from spreading indoors or into the garden beds? With coffee in hand, you head outside to begin your first project.
Step 1: Rough Shaping—Raised Planter Build
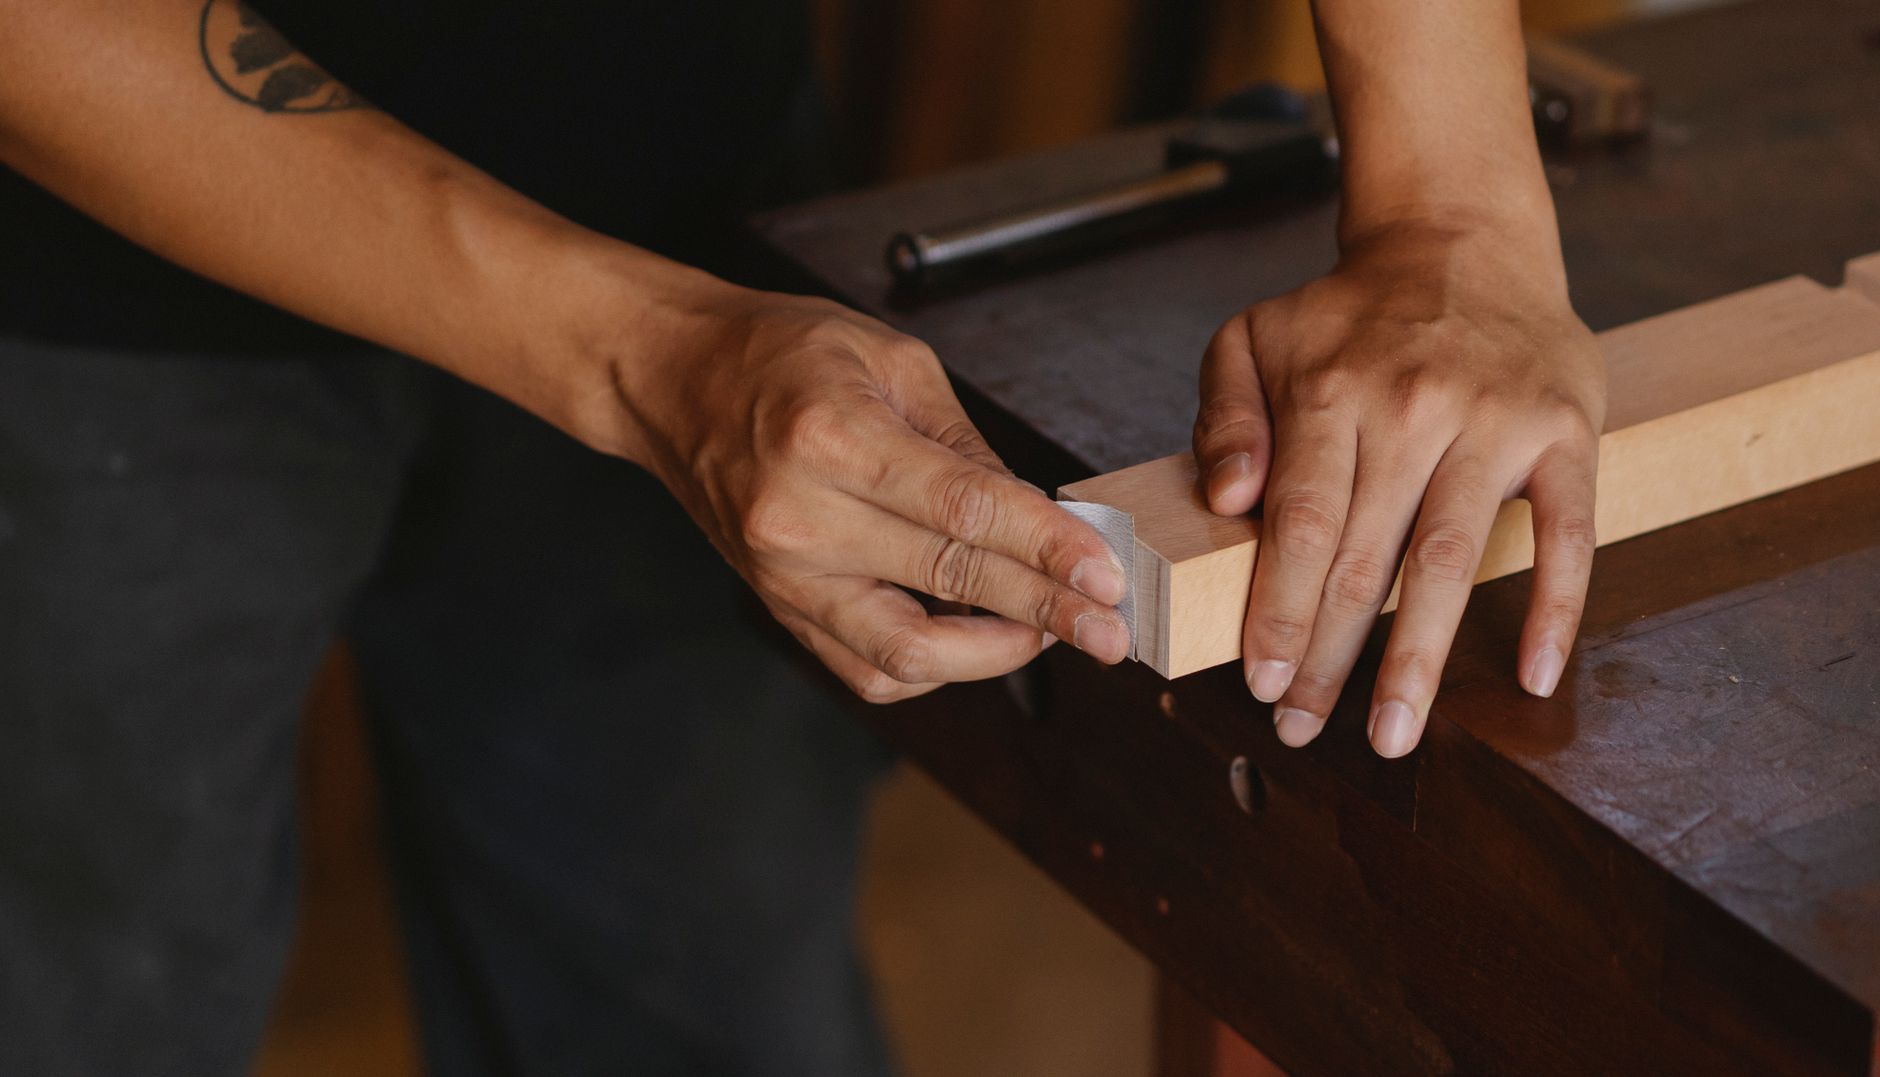
You start outside with the planter boards, still rough from the lumberyard. For shaping and removing splinters, a coarse grit (40–60) is your friend. This level of abrasion quickly smooths edges and removes saw marks, but it’s too aggressive for finishing. Start with 60-grit to even out surfaces, working with the grain to prevent deep scratches. If you’re new to power tools, review basic safety and dust ventilation tips: sanding outdoors reduces indoor air contaminants, but always wear a mask and eye protection.
You notice some knots and rough edges on the boards. A quick pass with 60-grit sandpaper knocks down the worst splinters. You also check the boards for any nails or staples that could tear your sandpaper or damage your sander. With each board, you adjust your grip and pressure, learning that too much force can gouge the wood, while too little leaves rough patches. The morning air is cool, and you appreciate working outside, where dust disperses more easily and you can keep your workspace clean with a broom and dustpan.
After the initial sanding, you pause to inspect your work. The boards are smoother, but you can see scratch marks left by the coarse grit. You know the next step will be about refining the surface.
Step 2: Smoothing—When to Switch to Medium Grit
Once the planter boards are shaped, switch to a medium grit (80–120). This is where you erase the coarse scratches and prep the wood for finishing. 100-grit is a workhorse for most DIY wood projects, balancing removal with surface refinement. If you plan to stain or seal the planter, this step is crucial: skipping medium grit can leave visible scratches that show through clear finishes. For outdoor projects, remember to check for weathered or moldy spots—a medium grit can help remove surface discoloration, but deep mold may require professional cleaning or replacement.
You swap out your sandpaper and get back to work, noticing how much smoother the boards feel after a few passes. The medium grit removes the deep scratches and evens out the surface, making it ready for assembly. You pay special attention to the corners and ends, which tend to be rougher and more prone to splinters. Occasionally, you pause to brush away dust, keeping your work area tidy and avoiding buildup that could clog your sandpaper.
As you finish this stage, you realize the difference in feel between the coarse and medium-sanded boards. The surface is now pleasant to touch, and you’re confident it will accept stain or paint evenly. You take a moment to stretch and hydrate, appreciating the progress you’ve made before moving on to the next step.
Step 3: Fine Grit for Finishing Touches
With the planter assembled, it’s time for final smoothing. Fine grits (150–220) are ideal before painting or sealing. For softwoods, 180-grit is usually sufficient; for hardwoods or a super-smooth finish, go up to 220. Wipe the surface with a damp cloth between grits to remove dust—this prevents grit contamination and helps your finish adhere evenly. If you’re sealing a raised planter, ensure all sanding dust is cleared away to avoid trapping particles in the finish, which could affect both appearance and durability.
You run your hand over the boards, feeling for any lingering rough spots. The fine grit polishes the surface, making it almost silky. You use a tack cloth or slightly damp rag to remove all dust before applying your chosen finish. This attention to detail pays off later, when your stain or paint goes on smoothly and evenly.
At this point, you also inspect the joints and corners, making sure there are no sharp edges left. If you find any, a quick touch-up with the fine grit takes care of them. You’re ready to move on to sealing or painting, but first, you clean up the outdoor workspace, sweeping up dust and disposing of used sandpaper properly.
Step 4: Indoor Project—Refinishing a Door
Moving inside, you face a different challenge: an old door with peeling paint and scuffs. Indoors, dust control is critical for both cleanliness and health. The U.S. EPA recommends controlling sanding dust to protect indoor air quality, especially if old paint may contain lead or other hazards. Start with 80-grit for paint removal, but don’t be tempted to go coarser unless you’re certain the wood can take it. Once the old finish is gone, progress through 120, then finish with 180 or 220 before repainting or sealing. Always sand with the grain to avoid visible scratches.
Before you begin, you lay down drop cloths and tape off vents and doorways to contain dust. You open windows for ventilation and set up a fan to direct dust outside. Wearing a mask and goggles, you start with 80-grit sandpaper, carefully working on the flattest panels first. You notice how quickly the grit removes old paint, but you’re careful not to linger in one spot, which could wear down the wood unevenly.
After the paint is gone, you switch to 120-grit for a more refined surface, then finish with 180 or 220. Between each grit, you vacuum up dust and wipe the door with a damp cloth. By the time you’re done, the door feels smooth and is ready for its new finish. You’re also relieved to see that the dust stayed contained, making cleanup much easier and keeping your indoor air healthier.
Step 5: Safety and Sandpaper Selection
No matter the project, safety comes first. Always check your sandpaper and tools for recalls before use—defective products can pose serious risks. The U.S. Consumer Product Safety Commission maintains a current recall database. Use a dust mask and adequate ventilation, both for your own safety and to minimize indoor air pollution. If you encounter unusual odors, excessive dust, or suspect hazardous materials, stop and consult a professional.
You keep your safety gear nearby: a dust mask, goggles, and gloves. Before plugging in your sander, you double-check the cord for frays and make sure the dust bag is attached securely. If you’re unsure about the age of paint or suspect it could contain lead, you consider a test kit or professional help. You also remind yourself to never leave power tools unattended, especially if children or pets are around.
At the end of each sanding session, you wash your hands and change out of dusty clothes before heading into other parts of the house. These habits protect your health and keep your home cleaner.
Step 6: Outdoor Water-Smart Sanding Cleanup
After sanding your planter, you’ll want to clean up efficiently and responsibly. Avoid washing sanding dust into storm drains or garden beds—wood dust and finishes can affect soil and water quality. The EPA WaterSense program recommends using minimal water for outdoor cleanup and disposing of sanding residues in the trash, not in the yard.
You gather up all the dust and debris with a broom and dustpan, placing it in a sealed bag for disposal. If you need to rinse tools, you do so over a gravel area or bucket, not directly onto the lawn or driveway. You also check your outdoor faucet for leaks and turn it off tightly, following water-wise practices. These small steps help protect your garden, local water supply, and the broader environment.
Step 7: When to Replace Your Sandpaper
Dull sandpaper slows your progress and can burn wood or leave uneven scratches. Replace sheets when they clog or stop cutting effectively—don’t try to stretch their life, as worn-out grit can lead to frustration and poor results. If you’re sanding a large project, plan ahead and have several grits on hand to avoid unnecessary trips to the store.
You notice your sandpaper isn’t removing material as quickly, and the surface feels slick instead of gritty. That’s your cue to swap in a fresh sheet. You keep a small bin for used sandpaper and try to use both sides before discarding. Having a variety of grits ready saves time and keeps your workflow smooth.
Bonus: Sandpaper Grits for Other Common Projects
With your main projects done, you start thinking about other areas in your home that could benefit from the right sandpaper grit. Maybe it’s smoothing a garden bench, prepping an old picture frame, or touching up drywall patches. Each task has its own ideal grit range: coarse (40–60) for heavy removal, medium (80–120) for smoothing, and fine (150–220) for finishing.
For painted surfaces, always start with the least aggressive grit that gets the job done—this protects the underlying material and reduces airborne dust. For metal or plastic items, use specialized sandpaper designed for those materials, and follow the same progression from coarse to fine.
You jot down notes for future projects, confident that you now have a system for choosing the right grit every time. This planning saves you time, money, and effort in the long run, and helps you achieve professional-looking results throughout your home and garden.
Final Thoughts: Grit Choice is Project Success
Choosing the right sandpaper grit isn’t just about getting a smooth finish—it’s about efficiency, safety, and the longevity of your work. Whether you’re shaping garden planters or refinishing furniture, matching grit to the task at hand saves time and reduces headaches. Use this practical sequence as your go-to sandpaper grit guide for DIY success.
As you wrap up your DIY day, you look back at your completed projects with satisfaction. The planter looks ready for spring planting, and the door is prepped for a fresh coat of paint. You’ve kept your workspace safe and clean, protected your indoor air, and minimized your impact on the environment. Most importantly, you’ve learned how to make smart choices with sandpaper grits—skills you’ll use in every future project.
Scarlett Hayes writes TopicFlex's tools, organization, and smart-home basics. She explains product categories, storage systems, and beginner-friendly automation ideas.
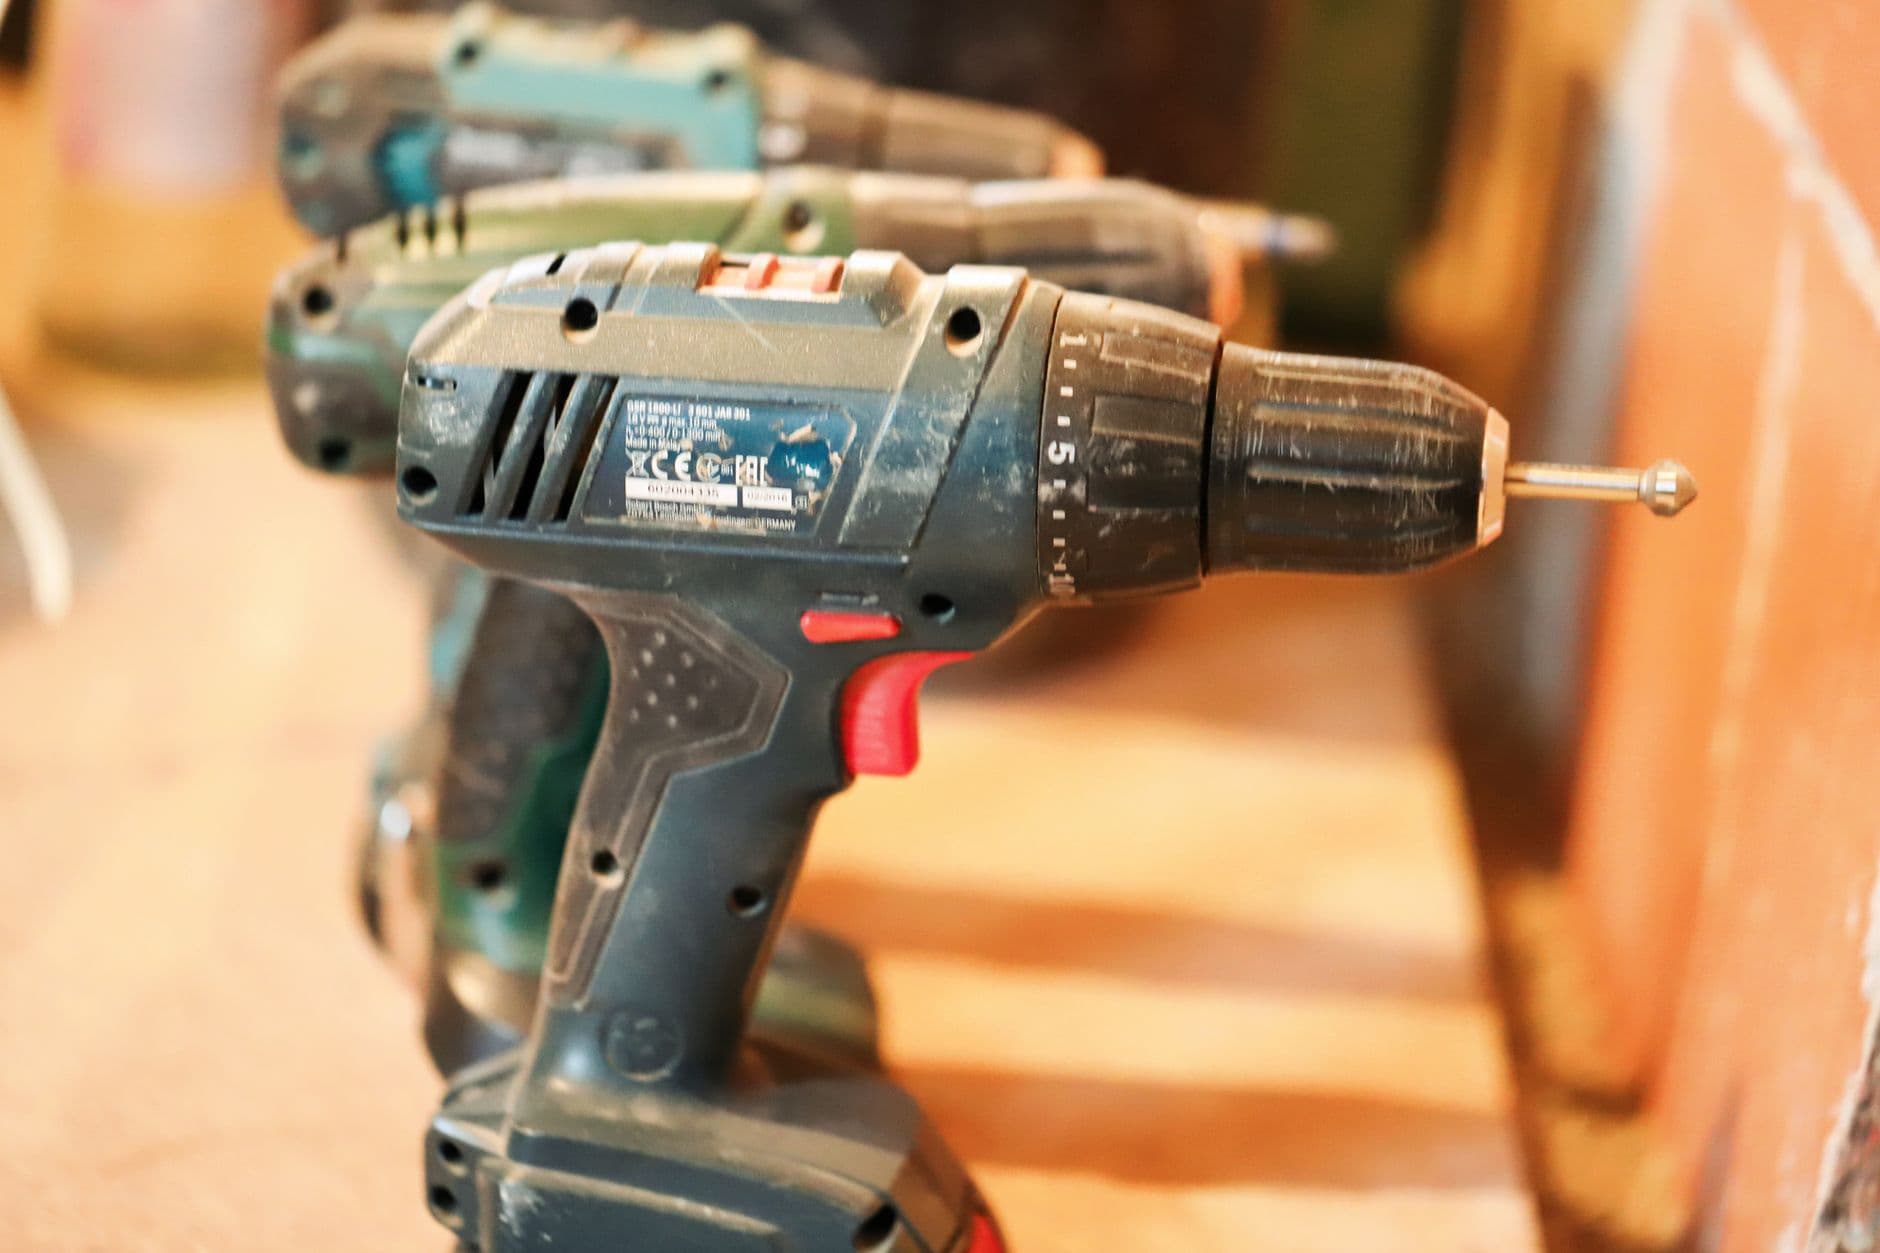
Hardware aisles are full of cordless drills with features you may never use. For typical home projects, a few specs actually matter—clutch control, variable speed, battery platform, and basic safety habits. Here is how to choose one and put it to work on a common job like hanging shelves.
Starting home projects without the right tools can turn a simple fix into a major headache. This guide explains how to build a beginner home tool kit that covers the most common household repairs and improvements—without cluttering your space or risking safety. Learn which tools truly matter, how to organize and care for them, and when to call in a professional.
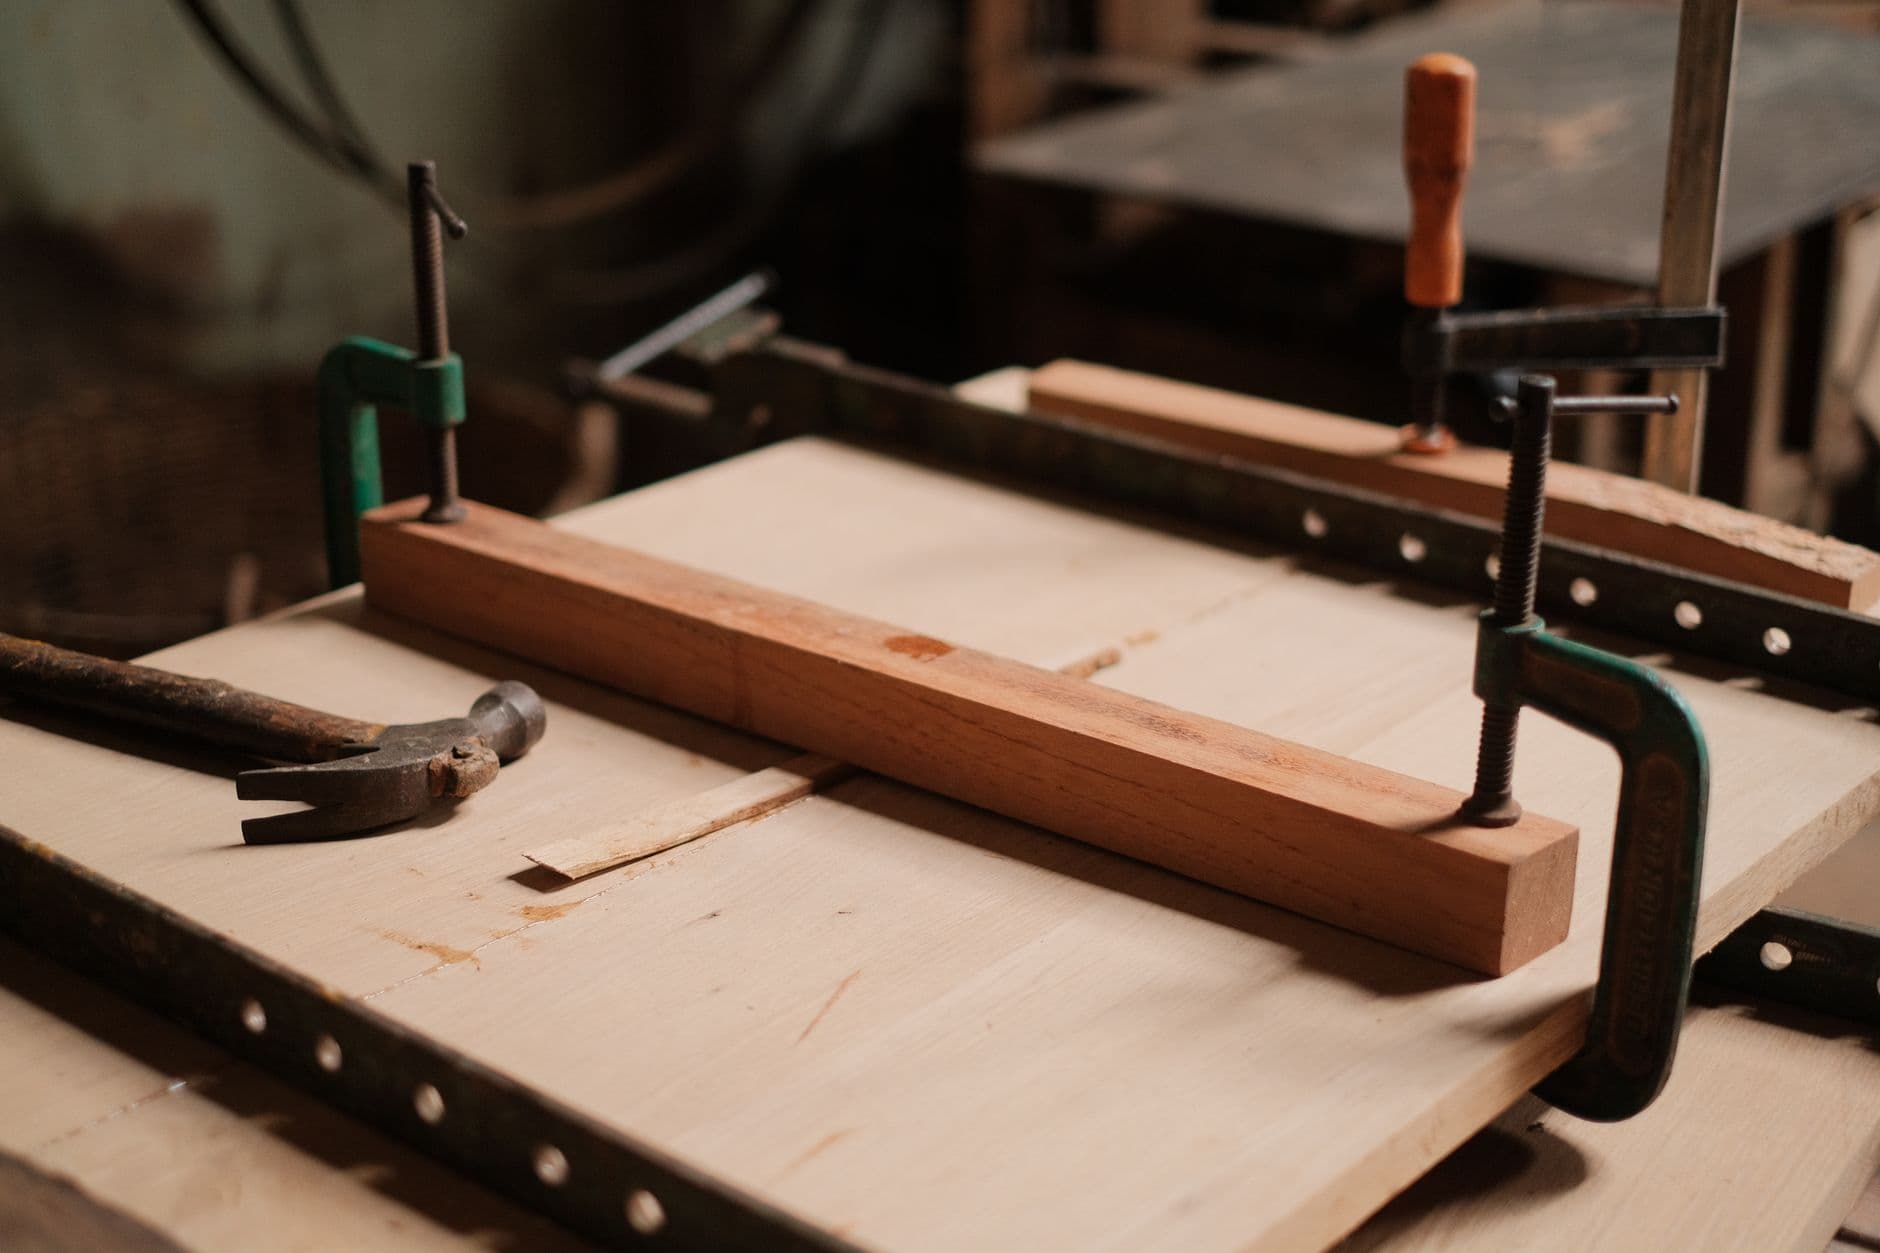
Choosing the right clamp can make or break your first DIY project. This guide helps beginners navigate the wide world of clamp types, from gluing up a wobbly chair to building raised planters. Learn when to reach for a quick-grip, when to stop and rethink your approach, and why the wrong clamp can ruin a project or even pose a safety risk. Discover practical tips for safe, effective clamping that lead to smoother results in all your everyday DIY tasks.
Nothing derails a home project faster than using the wrong drill bit. Whether you’re mounting shelves, installing curtain rods, or tackling bathroom tile, choosing the correct bit isn’t just about efficiency—it’s about preventing damage to your tools, your materials, and sometimes even your safety. This drill bit types guide helps you decide not just what to use, but when to pause and rethink before you drill, especially when working with unfamiliar materials or in homes built before 1978.