Which Type of Clamp to Use for Common Beginner DIY Jobs
Choosing the right clamp can make or break your first DIY project. This guide helps beginners navigate the wide world of clamp types, from gluing up a wobbly chair to building raised planters. Learn when to reach for a quick-grip, when to stop and rethink your approach, and why the wrong clamp can ruin a project or even pose a safety risk. Discover practical tips for safe, effective clamping that lead to smoother results in all your everyday DIY tasks.
You’ve measured twice, cut once, and now it’s time to hold everything together while glue dries or screws bite. But if you grab the wrong clamp—or none at all—your project could slip, warp, or even fail. For beginners, the world of clamps can seem crowded and confusing: bar clamps, spring clamps, C-clamps, and more. The key is knowing which clamp fits the job, and when it’s smarter to pause and rethink your approach. Let’s break down common beginner DIY scenarios and the clamp types that lead to success—or trouble. Even the most basic project can go sideways if the wrong clamp is used. For example, using a clamp that’s too small for a large glue-up can result in uneven pressure, while a clamp that’s too strong for a delicate material can leave permanent marks or even split the wood. The right clamp not only holds your project together but also keeps your workspace safer and your results more professional. If you’re ever unsure, stopping to reassess your clamp choice is far better than rushing ahead and risking damage or injury.
Spring Clamps: Fast Grabs for Light Work
Spring clamps are the go-to for holding lightweight materials together temporarily. They’re perfect for quick fixes—like holding a glue joint on a picture frame or keeping fabric in place while you staple. Their strong jaws and one-handed operation make them a staple in any beginner’s toolkit. But stop before using them on anything requiring high-pressure or long-term holding: spring clamps can lose grip on heavy or thick materials, and too much force can mar soft woods or delicate surfaces. For more on essential starter tools, see /posts/beginner-home-tool-kit-essentials. Spring clamps are also invaluable for holding small repairs in place while adhesives set, such as gluing decorative trim or fixing a loose veneer. However, if you notice the clamp slipping or the material flexing under pressure, it’s a sign you need something stronger or a different technique. Never force a spring clamp onto a thick or rigid material; if it resists, stop and switch to a clamp with greater capacity. Always check the jaws for debris before use, as grit can imprint on your project. If you’re working outdoors, especially on garden projects, remember that plastic spring clamps can become brittle in cold weather and may snap unexpectedly.
Bar Clamps: The Workhorse for Furniture and Panels
When gluing up a tabletop, assembling furniture, or building boxes, bar clamps (including F-style and pipe clamps) provide the even, adjustable pressure you need. Their long reach and sturdy construction make them ideal for projects like fixing wobbly chairs or making a raised planter (/posts/raised-planter-simple-build). Bar clamps excel at keeping large pieces aligned, but beware: overtightening can crush wood fibers or squeeze out too much glue, leading to weak joints. Always check that clamp pads are clean and properly positioned to avoid dents. If you’re unsure about handling heavy panels or awkward assemblies, ask for help or consider a safer project. Bar clamps are especially useful for edge-gluing boards or holding panels flat while fasteners are installed. If you find that the clamp is bowing or the project is shifting out of alignment, stop and adjust your setup before proceeding. For outdoor assembly, such as garden planters, choose clamps with rust-resistant coatings to avoid corrosion. If your project requires more clamps than you have, resist the urge to space them too far apart—uneven pressure can cause warping. Instead, pause and wait until you can borrow or purchase enough clamps for safe, even pressure. If you feel resistance when tightening, check for obstructions or misalignment rather than forcing the clamp further.
C-Clamps: Classic Power for Small, Rigid Jobs
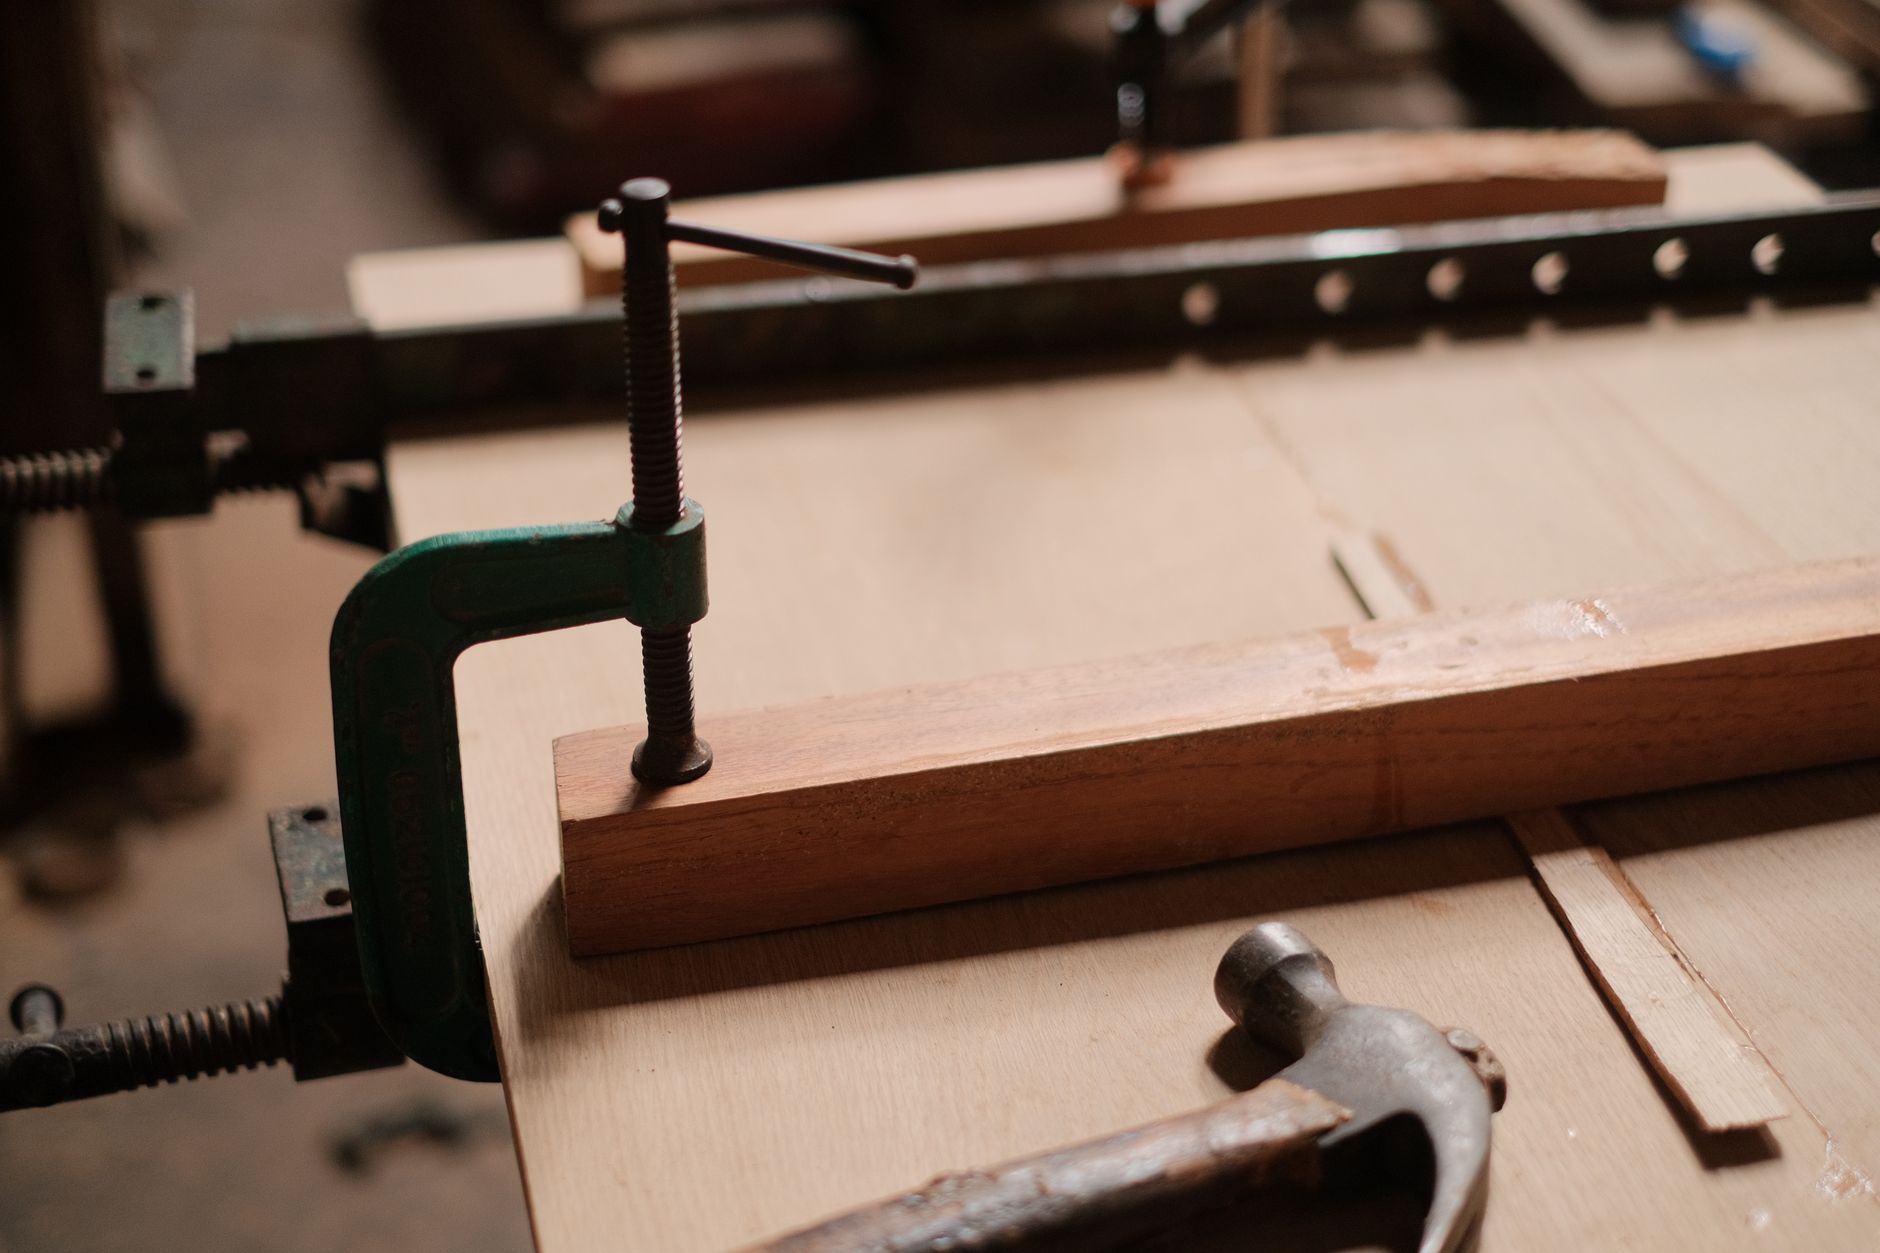
C-clamps are iconic for their raw holding power and compact design. They’re best for metalwork, small woodworking tasks, or securing items to a benchtop. Their screw mechanism lets you dial in pressure, but they can be slow to adjust and may dent soft materials if used without protective pads. Use C-clamps when you need a rock-solid hold on a non-flexing material. Stop if you notice the clamp bowing or slipping—this means you’ve exceeded its capacity or chosen the wrong style. Never use C-clamps for tasks that require fast repositioning or on fragile surfaces. C-clamps are also not ideal for projects that require clamping at odd angles or across wide spans. If you’re working on a project that involves painted or finished surfaces, always use a buffer, such as a piece of scrap wood or a dedicated clamp pad, to prevent damage. If the clamp feels gritty or hard to turn, clean and lubricate the screw before use. For tasks involving electrical work or plumbing, avoid using metal C-clamps near live wires or pipes to prevent accidental shorts or punctures. If you’re unsure whether the clamp is holding securely, give it a gentle tap—if it moves, stop and reconsider your approach.
Quick-Grip Clamps: Speed Meets Versatility
Quick-grip (one-handed) clamps combine speed with moderate holding strength, making them a favorite for DIYers assembling shelves, fixing loose molding, or holding parts for drilling. They’re easy to position and adjust, which helps when working solo. However, quick-grip clamps have pressure limits—don’t use them for heavy-duty glue-ups or structural repairs. If a joint feels like it might separate under stress, switch to a stronger clamp. For any project involving overhead work or unstable ladders, prioritize safety and consult U.S. Consumer Product Safety Commission guidelines (https://www.cpsc.gov/Safety-Education/Safety-Guides/Home). Quick-grip clamps are also useful for temporarily holding jigs or guides in place during repetitive cuts. If you notice the clamp slipping as you apply pressure, stop and check the jaws for wear or damage. For projects outdoors or in damp environments, opt for quick-grip clamps with corrosion-resistant components. If you feel the clamp flexing or hear it creak under load, it’s a clear sign to stop and choose a more robust clamp. Never use quick-grip clamps as a substitute for proper bracing or support when safety is at stake, especially when working above shoulder height or on ladders. The CDC highlights that falls are a leading cause of DIY injuries, so always ensure your setup is stable before proceeding.
Corner and Strap Clamps: For Angles and Odd Shapes
Building a picture frame, planter box, or anything with precise angles? Corner clamps hold pieces at 90 degrees, freeing your hands for alignment and fastening. Strap clamps wrap around irregular or circular shapes, gently pulling joints tight. These specialty clamps are invaluable for beginners tackling projects with tricky angles or multiple corners. If you find yourself struggling to hold parts steady while fastening, consider investing in these before moving forward. But if the joint feels unstable even with a clamp, reassess your cut accuracy or joint design before proceeding. Corner clamps are also helpful for assembling cabinets or boxes where perfect alignment is critical. If you notice gaps at the joint or the clamp won’t hold the angle, stop and check your measurements. Strap clamps are ideal for clamping round or multi-sided objects, such as barrels or octagonal planters. If the strap slips or won’t tighten evenly, inspect for twists or debris before continuing. For outdoor woodworking, ensure your clamps are suitable for exposure to moisture—some straps can mildew or degrade if left outside. If you’re working alone and struggling to manage multiple clamps, stop and recruit a helper or rethink your assembly sequence for safety and accuracy.
A clamp is only as safe as its setup. If you’re forcing a clamp to fit, using excessive strength, or clamping near electrical wires or pipes, it’s time to stop. Over-tightening can damage materials and strain your tools. For any project involving heavy lifting, overhead work, or precarious setups, follow fall prevention tips from the CDC (https://www.cdc.gov/niosh/topics/falls/). If you feel unsure about the load or stability, call a professional or choose a different approach. Always inspect clamps for rust, cracks, or worn pads before use—damaged clamps can fail unexpectedly. When working on a ladder or in hard-to-reach areas, never stretch or lean to apply a clamp. Instead, reposition your work or use a portable workbench. The U.S. Consumer Product Safety Commission recommends keeping your workspace clear of tripping hazards and ensuring all clamps are secure before applying force. If you notice your project shifting or the clamp loosening unexpectedly, stop and reassess. It’s always safer to take a break and double-check your setup than to risk injury or a ruined project. If in doubt about the suitability of your clamp or your ability to safely complete the task, don’t hesitate to seek advice from a more experienced DIYer or professional.
Material Considerations: Protecting Your Workpiece
Not all clamps are safe for every surface. Bare metal jaws can mar wood, while plastic pads may slip on metal. Use scrap wood or soft pads between clamp jaws and delicate materials. For outdoor projects—like assembling raised planters—choose clamps with rust-resistant coatings and avoid prolonged exposure to moisture. For more on durable materials and outdoor assembly, check University of Minnesota Extension’s yard and garden advice (https://extension.umn.edu/yard-and-garden). If you’re working with painted or finished surfaces, always use a buffer to prevent scratches or dents. For projects involving treated lumber or recycled materials, ensure your clamps are compatible with any chemicals or finishes present. If you see discoloration or residue on your clamp pads after use, clean them promptly to avoid transferring stains to future projects. For garden or yard projects, avoid leaving clamps outside overnight, as dew and rain can accelerate rust and degrade plastic components. If you notice any signs of corrosion or wear, stop using the clamp until it’s cleaned or replaced. Taking a few moments to protect your workpiece not only improves your results but also extends the life of your tools.
Sourcing Safe and Sustainable Clamps
When purchasing clamps, look for products labeled with safer coatings and materials. The EPA’s Safer Choice program (https://www.epa.gov/saferchoice) highlights household products with reduced chemical risks. This is especially important if you’re clamping near food prep areas or plan to use clamps for child-related projects. Clean clamps after use and store them in a dry place to extend their lifespan and maintain safety. If you’re concerned about environmental impact, choose clamps made from recycled metals or responsibly sourced plastics. For projects in the kitchen or garden, avoid clamps with flaking paint or exposed rust, as these can contaminate surfaces. If you’re unsure about a product’s safety, check for Safer Choice labeling or consult the manufacturer’s safety data. Regular maintenance—such as wiping down clamps after outdoor use and lubricating moving parts—will help prevent premature wear and ensure your clamps remain safe for years to come. If you notice any persistent odors or residue from new clamps, wash them before first use, especially if they’ll contact food surfaces or children’s items.
Making the Call: Clamp Types for Your Next DIY
Before you reach for any clamp, pause and ask: Is this the right tool for the job’s size, material, and duration? For light holding, spring clamps shine. Furniture assembly and glue-ups demand bar clamps. C-clamps are for rigid, small jobs; quick-grips offer speed for light to moderate tasks. Corner and strap clamps tackle tricky shapes. Stop if you feel unsafe or unsure—switch clamps, rethink your setup, or call in help. The right clamp not only improves your results but also keeps your DIY journey safe and satisfying. If you’re ever in doubt, err on the side of caution: a few extra minutes spent choosing and setting up the right clamp can save hours of frustration and prevent costly mistakes. Remember, no clamp is a substitute for proper planning and safe work habits. Take the time to review your project requirements, inspect your clamps, and set up your workspace for safety. If you encounter resistance, instability, or uncertainty at any point, stop and reassess. Your safety and the quality of your work are worth the extra care.
Scarlett Hayes writes TopicFlex's tools, organization, and smart-home basics. She explains product categories, storage systems, and beginner-friendly automation ideas.
Hardware aisles are full of cordless drills with features you may never use. For typical home projects, a few specs actually matter—clutch control, variable speed, battery platform, and basic safety habits. Here is how to choose one and put it to work on a common job like hanging shelves.
Starting home projects without the right tools can turn a simple fix into a major headache. This guide explains how to build a beginner home tool kit that covers the most common household repairs and improvements—without cluttering your space or risking safety. Learn which tools truly matter, how to organize and care for them, and when to call in a professional.
Choosing the right sandpaper grit can make or break your DIY project, whether you're prepping a planter box, refinishing a door, or smoothing drywall. This practical guide sequences a realistic home improvement day, explaining when to reach for coarse, medium, or fine grits—so you avoid wasted effort and get pro-level results. Along the way, you'll learn how grit choices affect not only your finish but also your safety, air quality, and tool longevity.
Nothing derails a home project faster than using the wrong drill bit. Whether you’re mounting shelves, installing curtain rods, or tackling bathroom tile, choosing the correct bit isn’t just about efficiency—it’s about preventing damage to your tools, your materials, and sometimes even your safety. This drill bit types guide helps you decide not just what to use, but when to pause and rethink before you drill, especially when working with unfamiliar materials or in homes built before 1978.