Practical Criteria for Zone Storage Labeling in Everyday Home Organization
When clutter keeps returning to the same corners, a zone storage labeling system can make the difference between perpetual tidying and lasting order. This walkthrough details how to define activity-based zones, choose the right containers and labels, and maintain safety, clarity, and efficiency for all household members—without overcomplicating or losing sight of real-life routines.
The Recurring Mess: Why Zone Storage Labeling Actually Matters
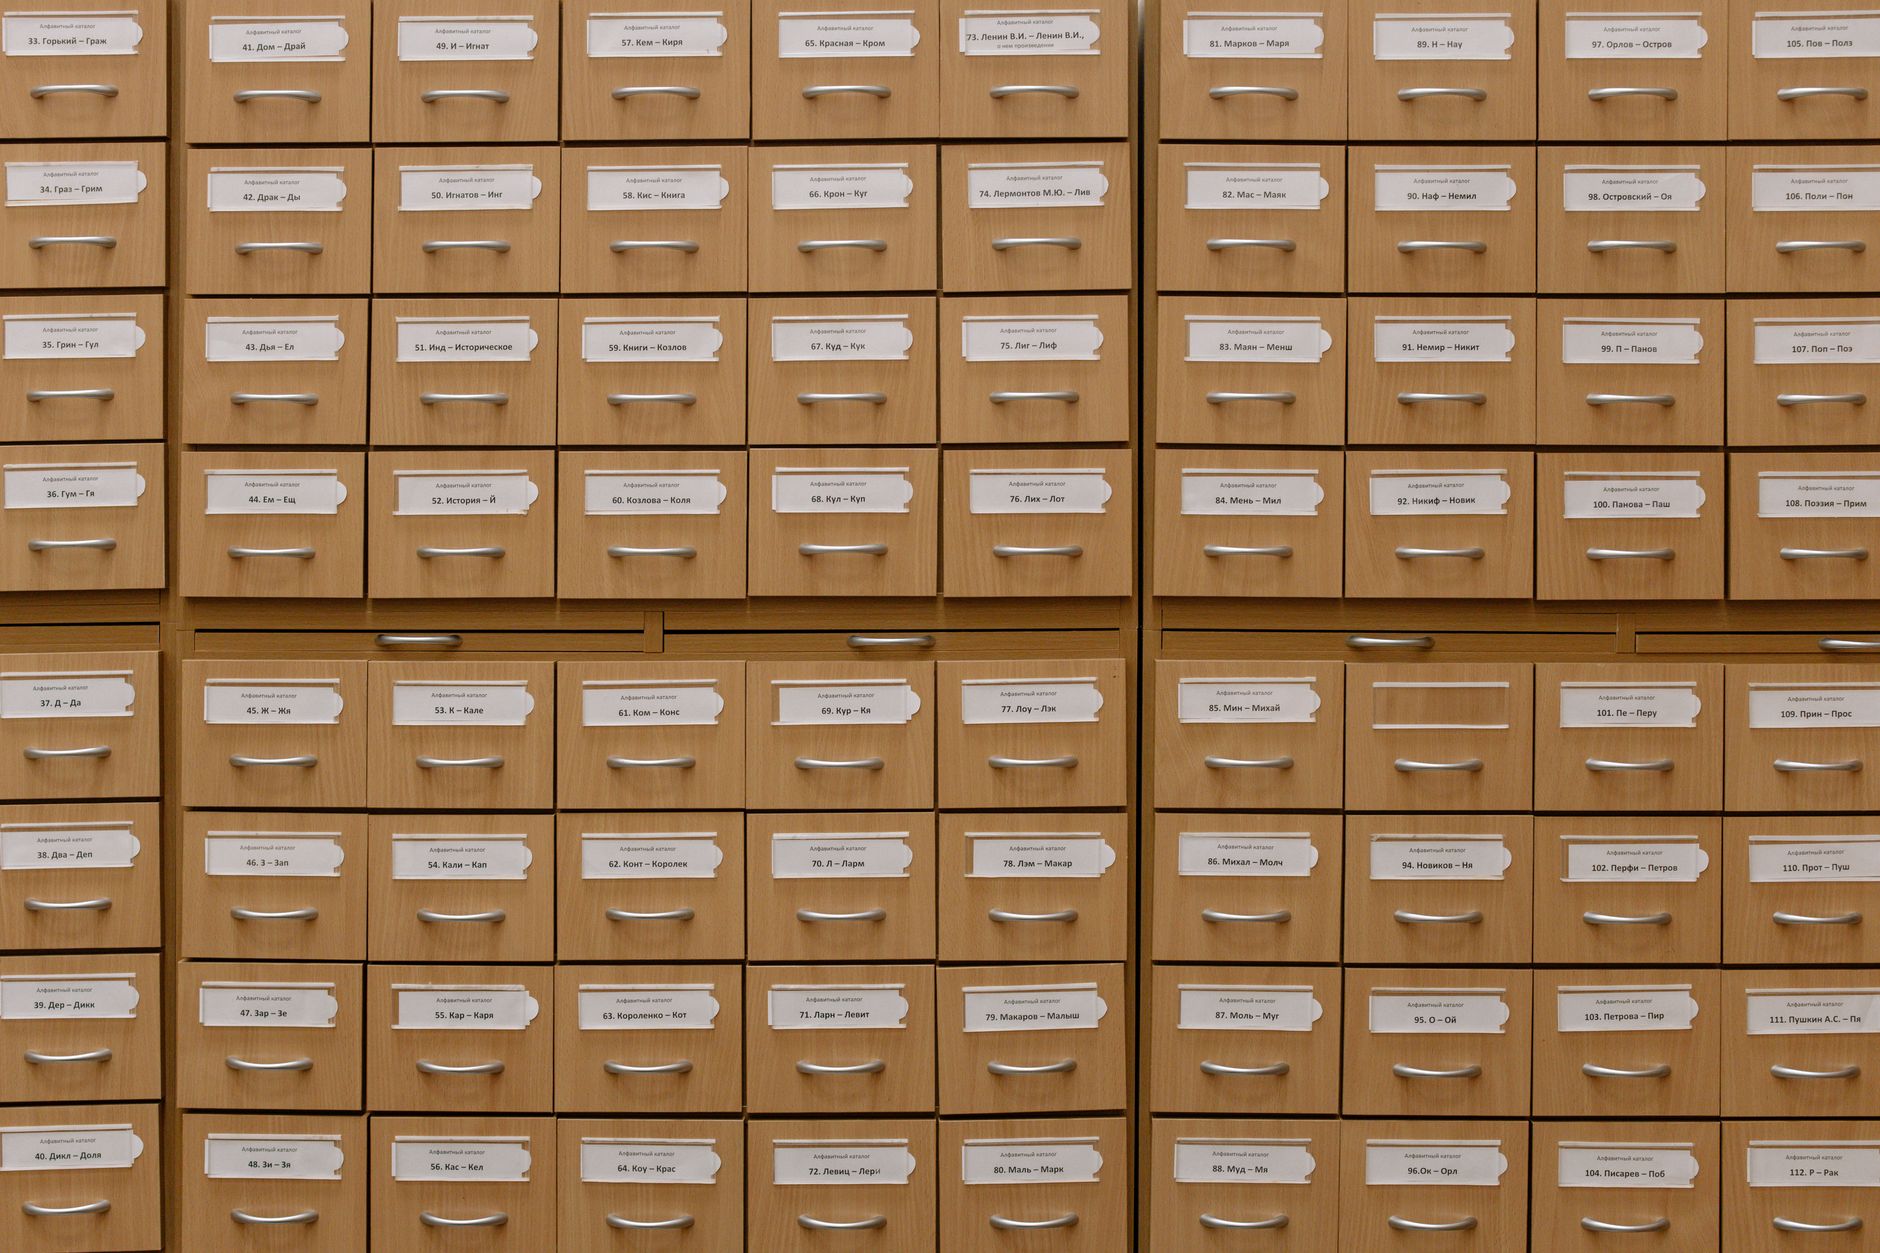
Most homes have those trouble spots—drawers overflowing with batteries, cleaning supplies scattered between rooms, or mystery bins in the closet. The usual quick fixes rarely last, because items migrate back to their old haunts. The real issue is not just clutter, but the lack of a clear, shared system for where things belong. Zone storage labeling offers a practical, sustainable way to break this cycle by mapping storage to household activities and making it obvious what goes where. The result: less confusion, fewer lost items, and a home that stays organized with less daily effort.
Mapping Activities to Storage Zones
To build a labeling system that works, start by thinking about what actually happens in your home. Instead of dividing storage by room, consider the activities that cluster together—like laundry, pet care, or prepping for school. For example, a 'Cleaning Zone' might live in a hall closet, grouping all sprays, sponges, and gloves in one spot. An 'Entry Zone' near the door corrals keys, umbrellas, and outgoing mail. This approach cuts down on backtracking and makes it easier for everyone to return items to their rightful place.
Clarifying Categories: The Case for Plain-Language Labels
Labels are only helpful if everyone can understand them at a glance. Skip abbreviations, inside jokes, or color codes that require a legend. Instead, use straightforward names like 'Light Bulbs,' 'Extension Cords,' or 'First Aid.' Place labels where they are easily seen—usually at eye level or on the part of a bin you naturally reach for. In homes with kids or guests, agreeing on label names ahead of time prevents confusion and keeps the system running smoothly. For any hazardous household chemicals or cleaners, retain the original manufacturer label for safety and regulatory reasons.
Choosing Containers: Size, Safety, and Access
The right container makes a labeling system functional. Oversized bins become dumping grounds, while too-small boxes overflow and frustrate everyone. Aim to leave about 10–20% open space in each container, so adding or removing items doesn't require a full reorganization. For heavy or bulky items, choose sturdy bins that can be stored at waist height or lower to prevent injuries. In damp areas like basements or bathrooms, opt for water-resistant materials and avoid storing items that could be damaged by moisture, which can also help prevent mold issues. Always keep chemicals and cleaning agents in their original, labeled packaging, and store them away from food and out of reach of children.
A label should be visible the moment you approach a storage zone. For stacked bins, put labels both on the front and the top. Use waterproof or smudge-resistant materials in kitchens, laundry rooms, or anywhere spills are likely. If you need to relabel frequently—such as for seasonal gear—consider using removable adhesive labels or dry-erase tags. Never cover up safety instructions or manufacturer warnings, especially on cleaning products or anything that could be hazardous in an emergency.
Common Pitfalls: When Zone Storage Labeling Breaks Down
Even the best systems can run into trouble. Typical problems include:
Labels that fade or peel off, leading to confusion
Containers that become too full or too empty, making the zone hard to use
Items being stashed in the wrong zone because the system doesn't match actual routines
Safety hazards, such as blocked exits or chemicals stored near food
If you notice these issues, it's time to pause and reassess. Sometimes the solution is as simple as updating a label; other times, you may need to rethink the zone itself.
Routine Maintenance: Keeping the System Working
A zone storage labeling system isn't set-and-forget. Schedule a quick reset for high-use areas (like entryways or cleaning closets) each week, and a deeper audit for less-used zones every few months. During these check-ins, remove expired items, merge duplicate categories, and adjust container sizes if zones are consistently overflowing or ignored. If a certain zone never seems to work, consider whether your activities or storage needs have changed—sometimes the best fix is to redefine the zone or relocate it entirely.
Safety and Emergency Readiness: Storage That Protects
Proper storage and labeling isn't just about tidiness—it also supports household safety. Heavy objects should go on lower shelves to prevent injuries. Household chemicals, paints, and cleaners must stay in their original containers with labels intact to avoid accidental misuse or dangerous chemical reactions. Never block exits, electrical panels, or access to emergency equipment with storage. If you’re unsure about handling or storing potentially hazardous materials, or if you find signs of mold or water damage, consult a professional or refer to trusted safety resources. For chemicals and household product safety, always follow guidance from authoritative sources.
Building Your System: A Stepwise Walkthrough
To put zone storage labeling into action:
1. List the main activities that generate clutter (e.g., laundry, pet care, school prep).
2. Assign a storage zone to each activity, choosing locations that fit your routines.
3. Inventory the items for each zone and group them by clear, descriptive categories.
4. Pick containers that fit the space and leave a little room to grow.
5. Agree on label wording with everyone who will use the system.
6. Create and attach durable, easy-to-read labels in visible spots.
7. Set reminders for regular resets and audits to keep the system on track.
8. Adjust zones, containers, or labels as your household’s needs evolve.
References
U.S. Environmental Protection Agency, Indoor Air Quality — IAQ basics including filtration and ventilation context, referenced for best practices in avoiding mold and ensuring safe storage environments. https://www.epa.gov/indoor-air-quality-iaq
U.S. Environmental Protection Agency, Mold Cleanup in Your Home — moisture and cleanup guidance after leaks, cited for recommendations on safe storage in damp areas. https://www.epa.gov/mold/mold-cleanup-your-home
Centers for Disease Control and Prevention, Chemical Emergencies — high-level chemical exposure framing for household product misuse, referenced for safe handling and labeling of chemicals in the home. https://www.cdc.gov/chemical-emergencies/index.html
Scarlett Hayes writes TopicFlex's tools, organization, and smart-home basics. She explains product categories, storage systems, and beginner-friendly automation ideas.
If you’re looking to automate your home lighting with smart plugs, it’s important to know where to start and how to avoid common safety pitfalls. This guide walks you through the essentials of choosing, installing, and safely using smart plugs for lighting, so you can enjoy automation without risking fire or electrical hazards.
Keys under mail, shoes in the walkway, bags blocking the door—most entryways need a system, not another basket. Here is how to design a drop zone that matches how your household actually comes and goes, keeps exits clear, and stays usable week after week.
You do not need a subscription app to track filter changes, smoke alarm tests, or repair receipts. A simple binder or accordion folder—kept somewhere you will actually see it—can hold everything you need for safety checks, recalls, and insurance claims.
When a pipe bursts or you smell gas, you need to know where the shutoffs are—not guess. A simple utility map, posted where everyone can find it, gives your household a clear plan before a crisis hits.
Modern home offices demand flexibility, but tangled cables and hasty fixes can quickly turn a productive space into a source of stress. Effective home office cable management isn’t just about hiding wires—it’s about creating a system that adapts as your tech evolves. This practical guide walks you through flexible, safety-minded steps to keep your workspace tidy and your devices accessible, without locking yourself into a rigid setup.