Renter-Friendly Outdoor Lighting That Can Handle Weather

- •Why Weatherproofing Matters for Renters
- •Safe, Temporary Outdoor Lighting Basics
- •Choosing Weatherproof Lighting: What to Look For
- •Practical Placement: Lighting Without Drilling
- •How to Install Weatherproof String Lights on a Rental Balcony
- •Common Pitfalls and How to Avoid Them
- •When to Call a Professional
- •Keeping Outdoor Lighting Safe Season After Season
- •References
Why Weatherproofing Matters for Renters
Safe, Temporary Outdoor Lighting Basics
Choosing Weatherproof Lighting: What to Look For
- UL Listing for Wet Locations: Lights and cords should be labeled as safe for wet or damp environments.
- Rubberized Seals and Gaskets: These keep moisture out of bulb sockets and plug connections.
- Heavy-Duty Cords: Thin or indoor cords crack and degrade quickly outside.
- Covered Plugs: Use covers or "in-use" weatherproof boxes at outlets to protect connections from rain.
- Solar or Battery Options: These eliminate the need for extension cords and can be moved as needed.
Practical Placement: Lighting Without Drilling
- Adhesive Hooks: Command™-style outdoor hooks work on smooth, clean surfaces and remove cleanly. They are ideal for string lights or lanterns.
- Zip Ties or Velcro Straps: Fasten lights to railings, fences, or pergola frames without tools.
- Freestanding Poles: Weighted or planter-based poles hold string lights overhead without wall attachment.
- Clip-On Fixtures: Clamp lights can be attached to shelves, planters, or balcony railings.
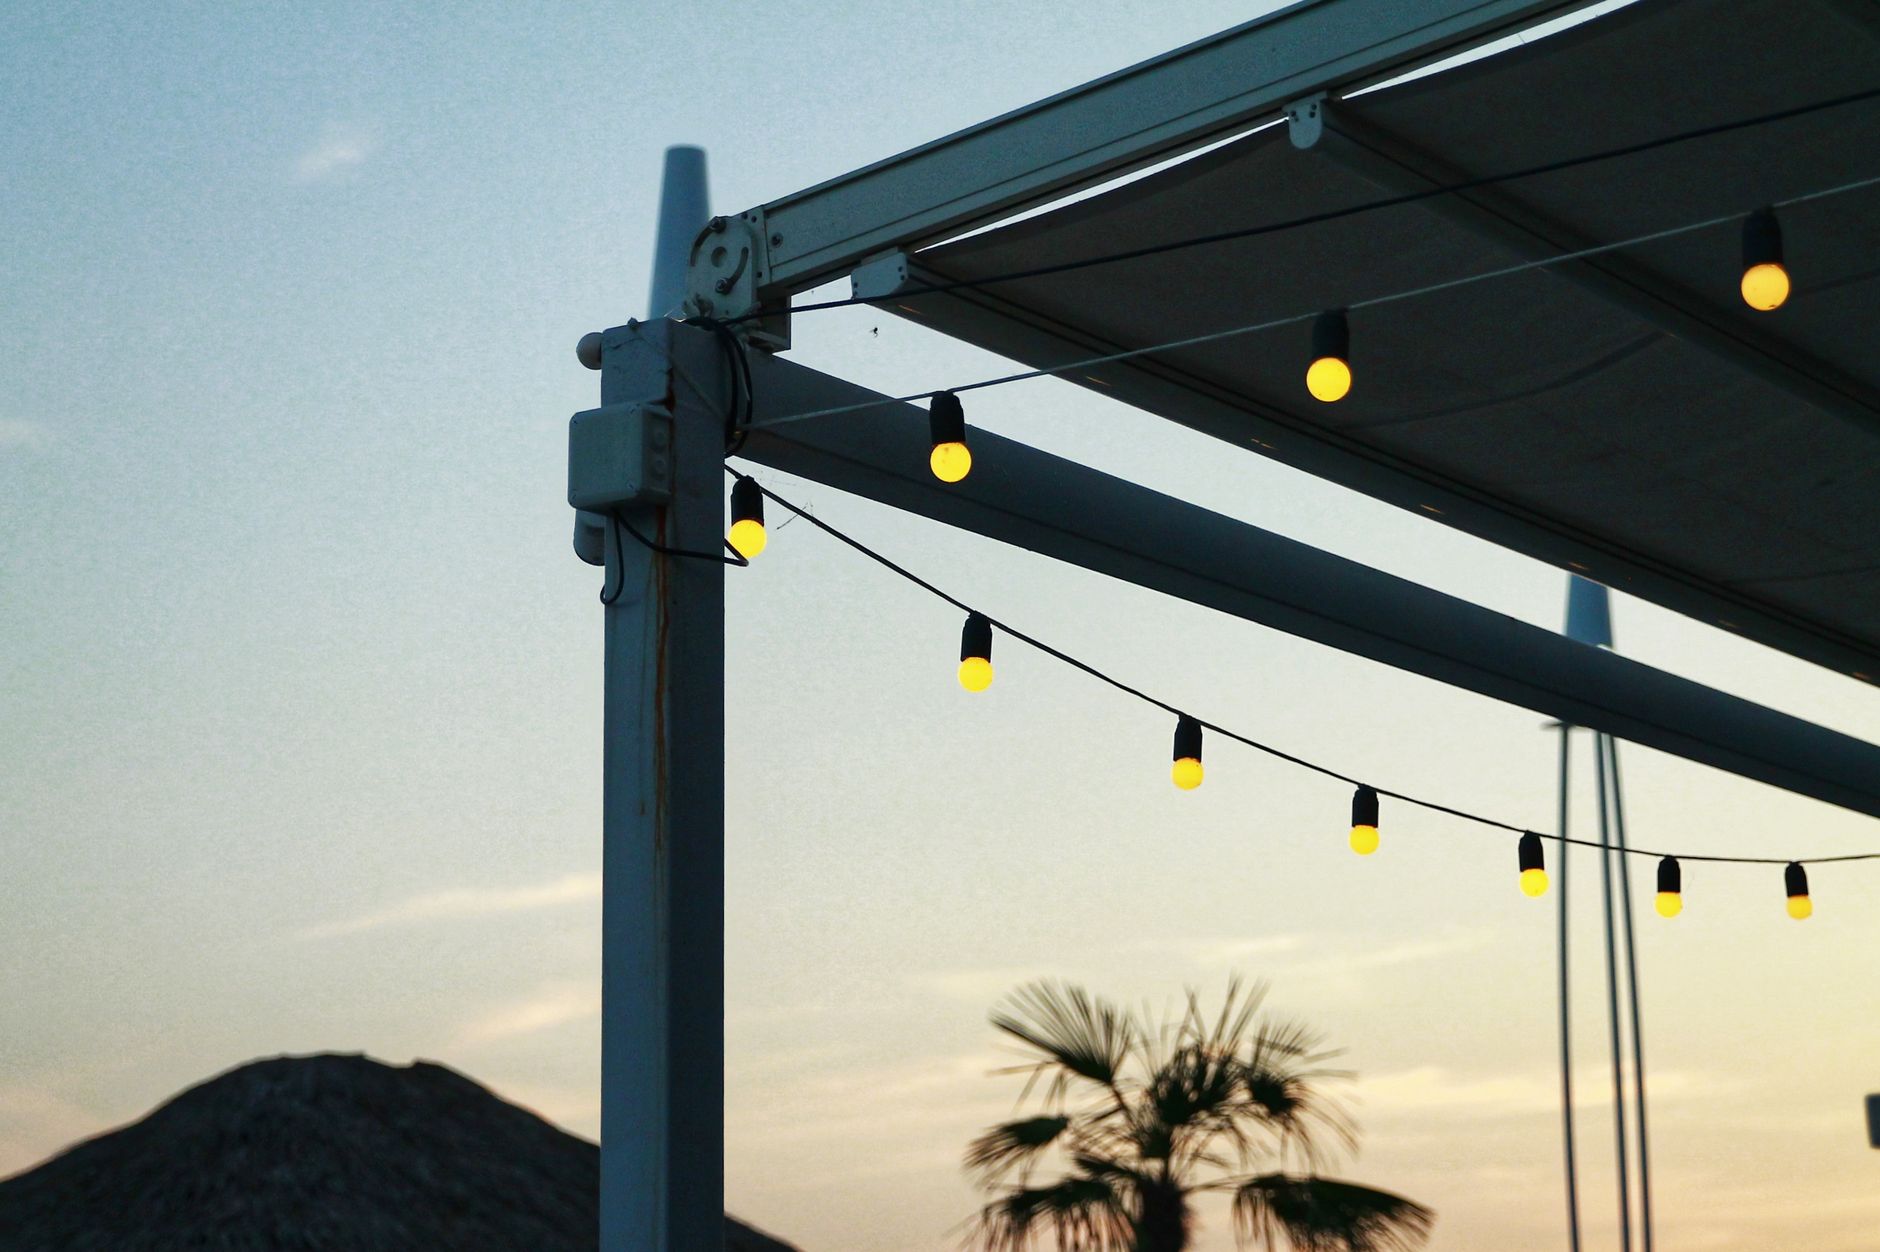
How to Install Weatherproof String Lights on a Rental Balcony
- Choose LED string lights rated for outdoor/wet locations with heavy-duty, rubberized cords and sealed sockets.
- Solar-powered options are ideal if no outdoor outlet is present.
- Measure your balcony's perimeter and decide on the pattern (zig-zag, perimeter, or overhead canopy).
- Mark hook or tie points (e.g., on railings or existing structures).
- Clean surfaces where adhesive hooks will go; follow the manufacturer's instructions for curing time before hanging weight.
- Attach string lights using zip ties or Velcro straps to railings. For overhead runs, use freestanding poles in weighted planters at corners.
- Plug lights into a GFCI-protected outdoor outlet. Use a weatherproof "in-use" cover for plugs.
- If using solar, position the panel for maximum sunlight but avoid blocking walkways.
- Inspect all connections for exposed wires or water entry points. Test the lights and ensure cords are secured out of tripping paths.
- If you notice any sparking, heat, or flickering, unplug immediately and consult a professional.
- After storms or high humidity, check for moisture inside bulb sockets or plugs. Mold and mildew can develop if moisture is trapped—see guidance from the EPA on outdoor mold cleanup at https://www.epa.gov/mold/mold-cleanup-your-home.
- Remove and store lights during extreme weather or when moving out to avoid damage and ensure easy deposit return.
Common Pitfalls and How to Avoid Them
- Using Indoor-Only Products: Even if a balcony is covered, wind-driven rain or condensation can reach fixtures. Always use outdoor-rated products.
- Overloading Outlets: Stringing too many lights together risks overheating and fire. Check the manufacturer's maximum wattage and never exceed it.
- Improper Cord Management: Loose cords can trip people or be chewed by pets. Secure all lines neatly and keep them away from doors and high-traffic zones.
- Ignoring Moisture Risks: Water infiltration can lead to shocks or mold. Regularly inspect for leaks, and address any moisture promptly. For more on indoor and outdoor air quality, visit https://www.epa.gov/indoor-air-quality-iaq.
When to Call a Professional
Keeping Outdoor Lighting Safe Season After Season
References
U.S. Consumer Product Safety Commission, Recalls — consumer product recall database. https://www.cpsc.gov/Recalls
American Red Cross, Home Fire Safety — detectors and escape planning. https://www.redcross.org/get-help/how-to-prepare-for-emergencies/types-of-emergencies/fire.html
U.S. EPA, Mold Cleanup in Your Home — moisture and cleanup guidance. https://www.epa.gov/mold/mold-cleanup-your-home
U.S. EPA, Indoor Air Quality — IAQ basics including moisture and ventilation. https://www.epa.gov/indoor-air-quality-iaq
Article information

About the author
Hazel BennettDIY & Outdoor Projects Writer
Hazel Bennett covers DIY projects and outdoor spaces for TopicFlex. She focuses on stepwise project planning, material lists, and outdoor-space improvements that renters and homeowners can approach carefully.
More from Hazel →This information is general and is not a substitute for professional advice for your specific situation.